Aluminum Overcast
Putting Things Together
Categories
Archive
Unicorn_Gundam RG Gunpla Gundam Gold_Plated BandaiTwo Arms! Two Arms!
10 Nov 2024 - Clint Fandango
Tags: Bandai Gundam Gunpla RG Unicorn_Gundam Gold_Plated
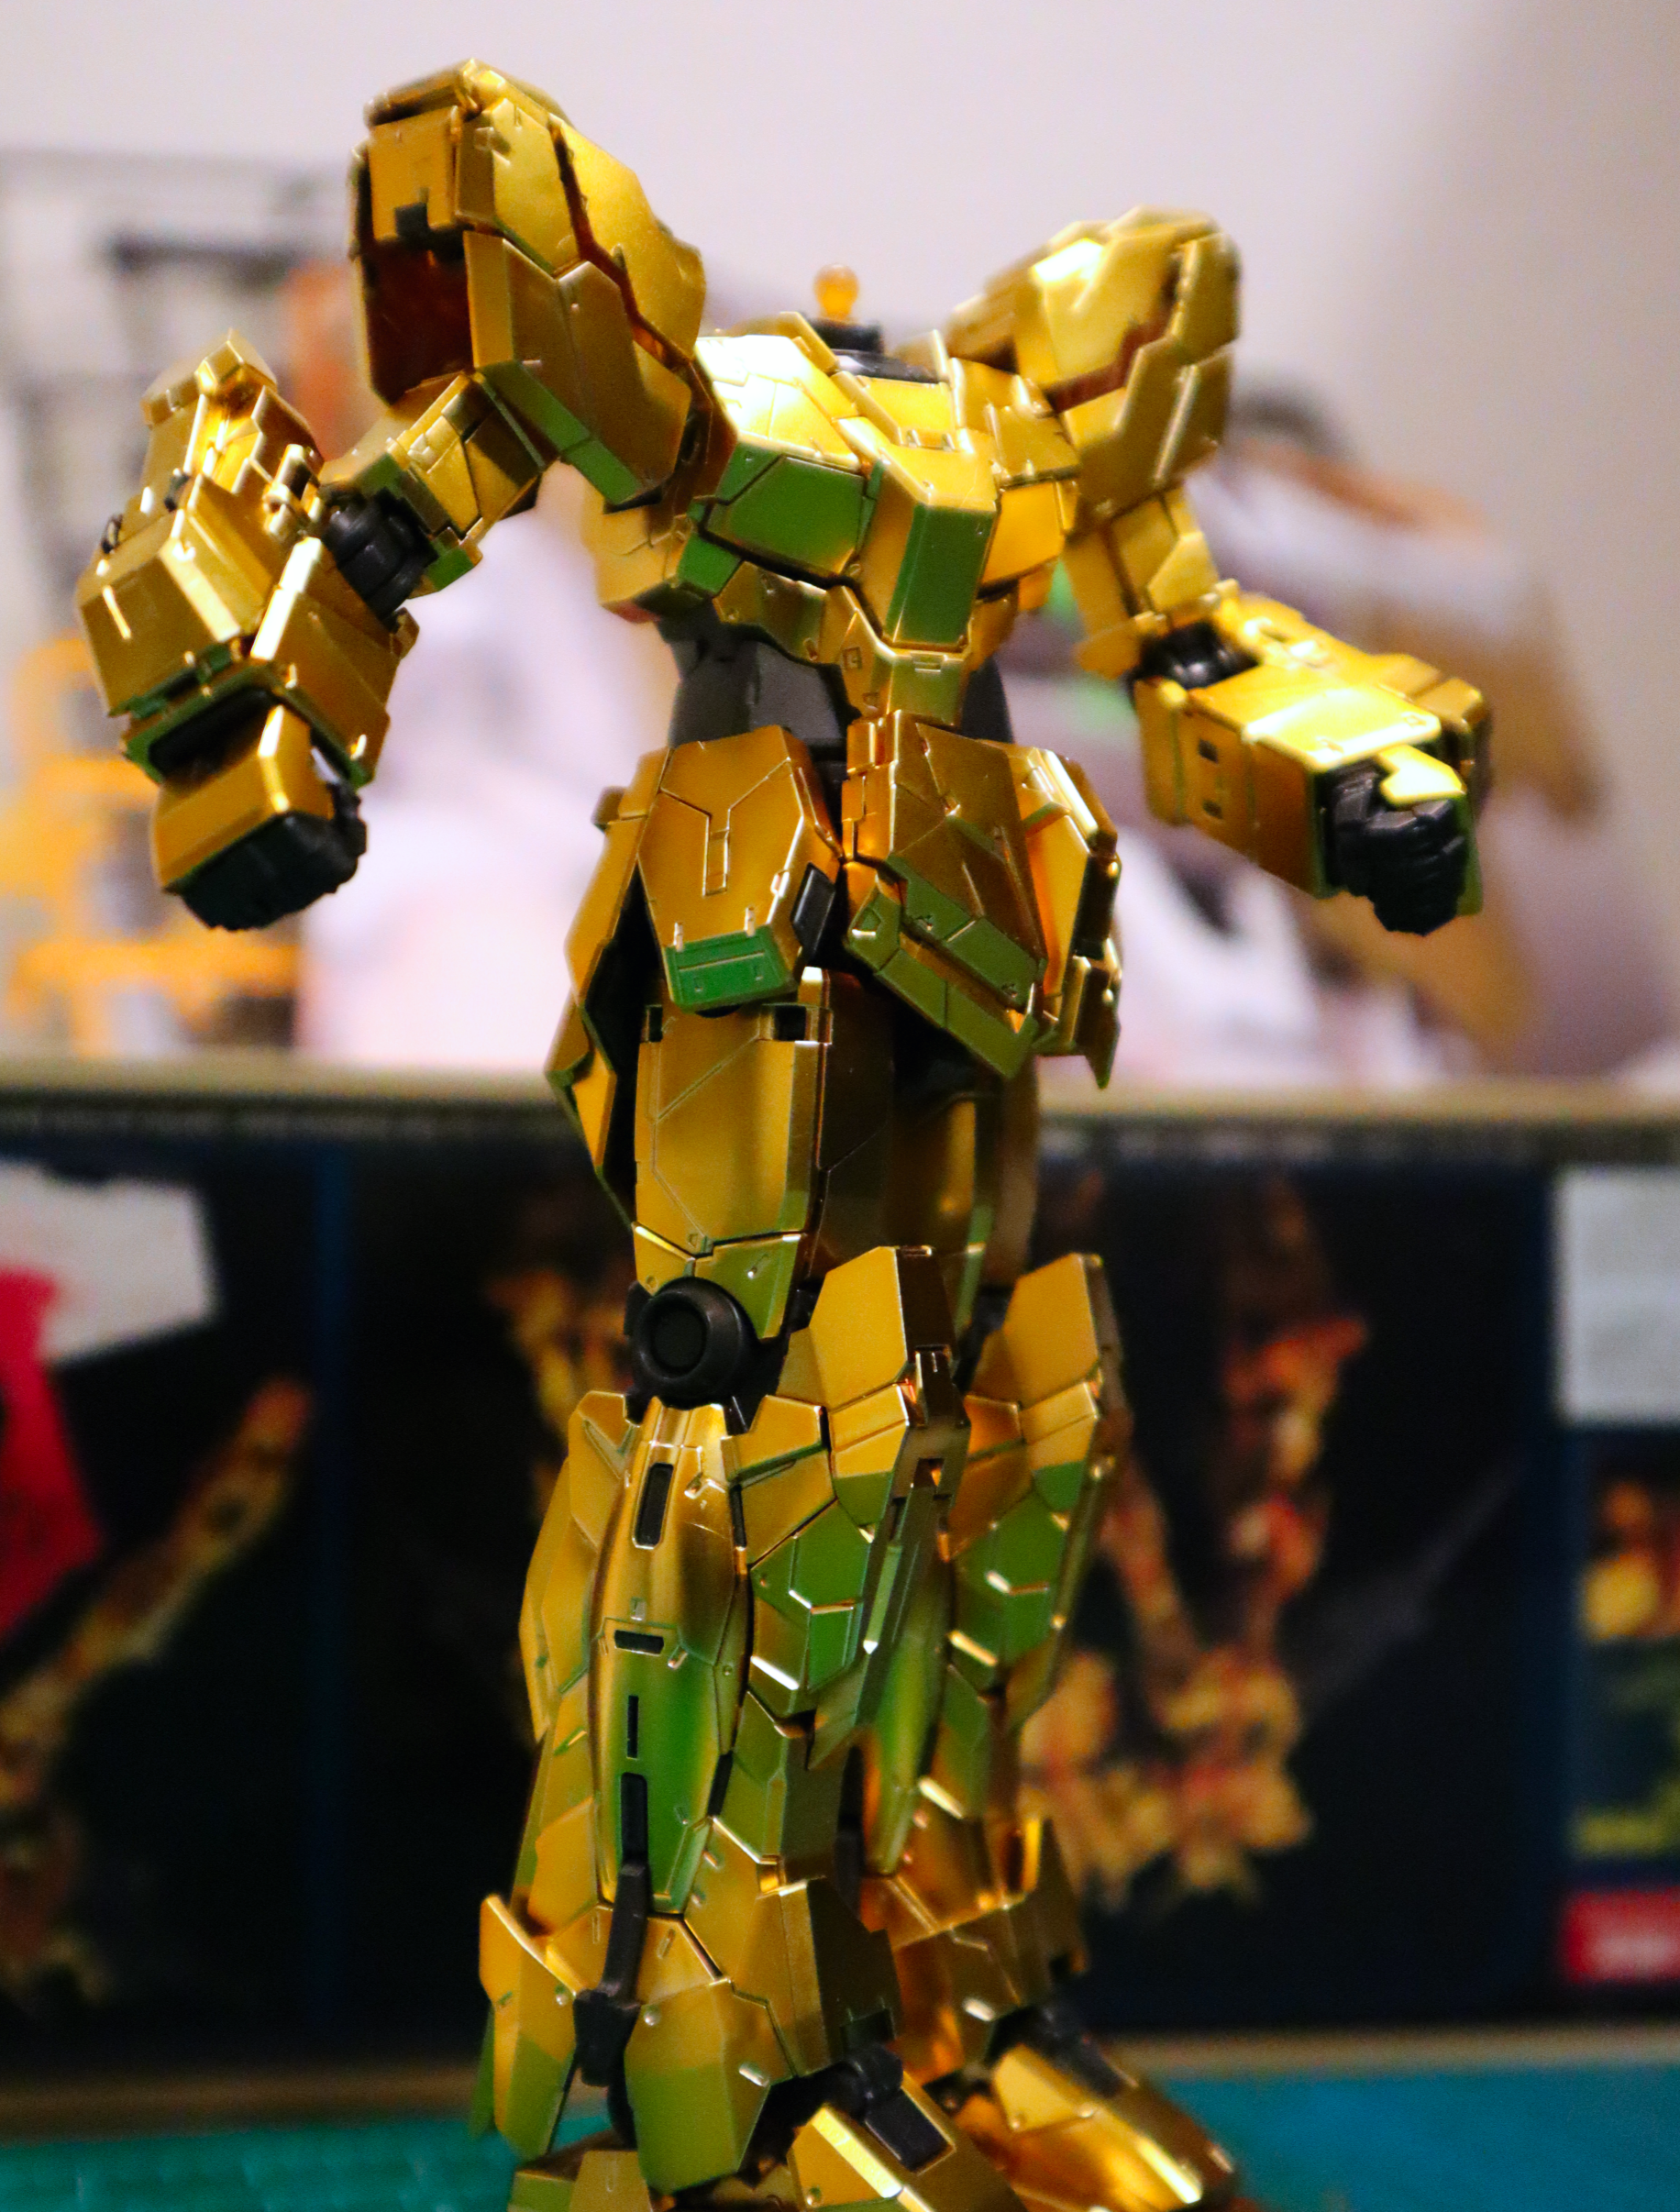
After a couple of minor disappointments last time, I sat down wondering if the issues I experienced were a fluke, or if they would continue as I worked on completing the arms and shoulders of the model.
Since the internal frames were already complete, most of the work this time around involved a lot of gold-plated plastic with undergates to give this gundam his big, shiny limbs.
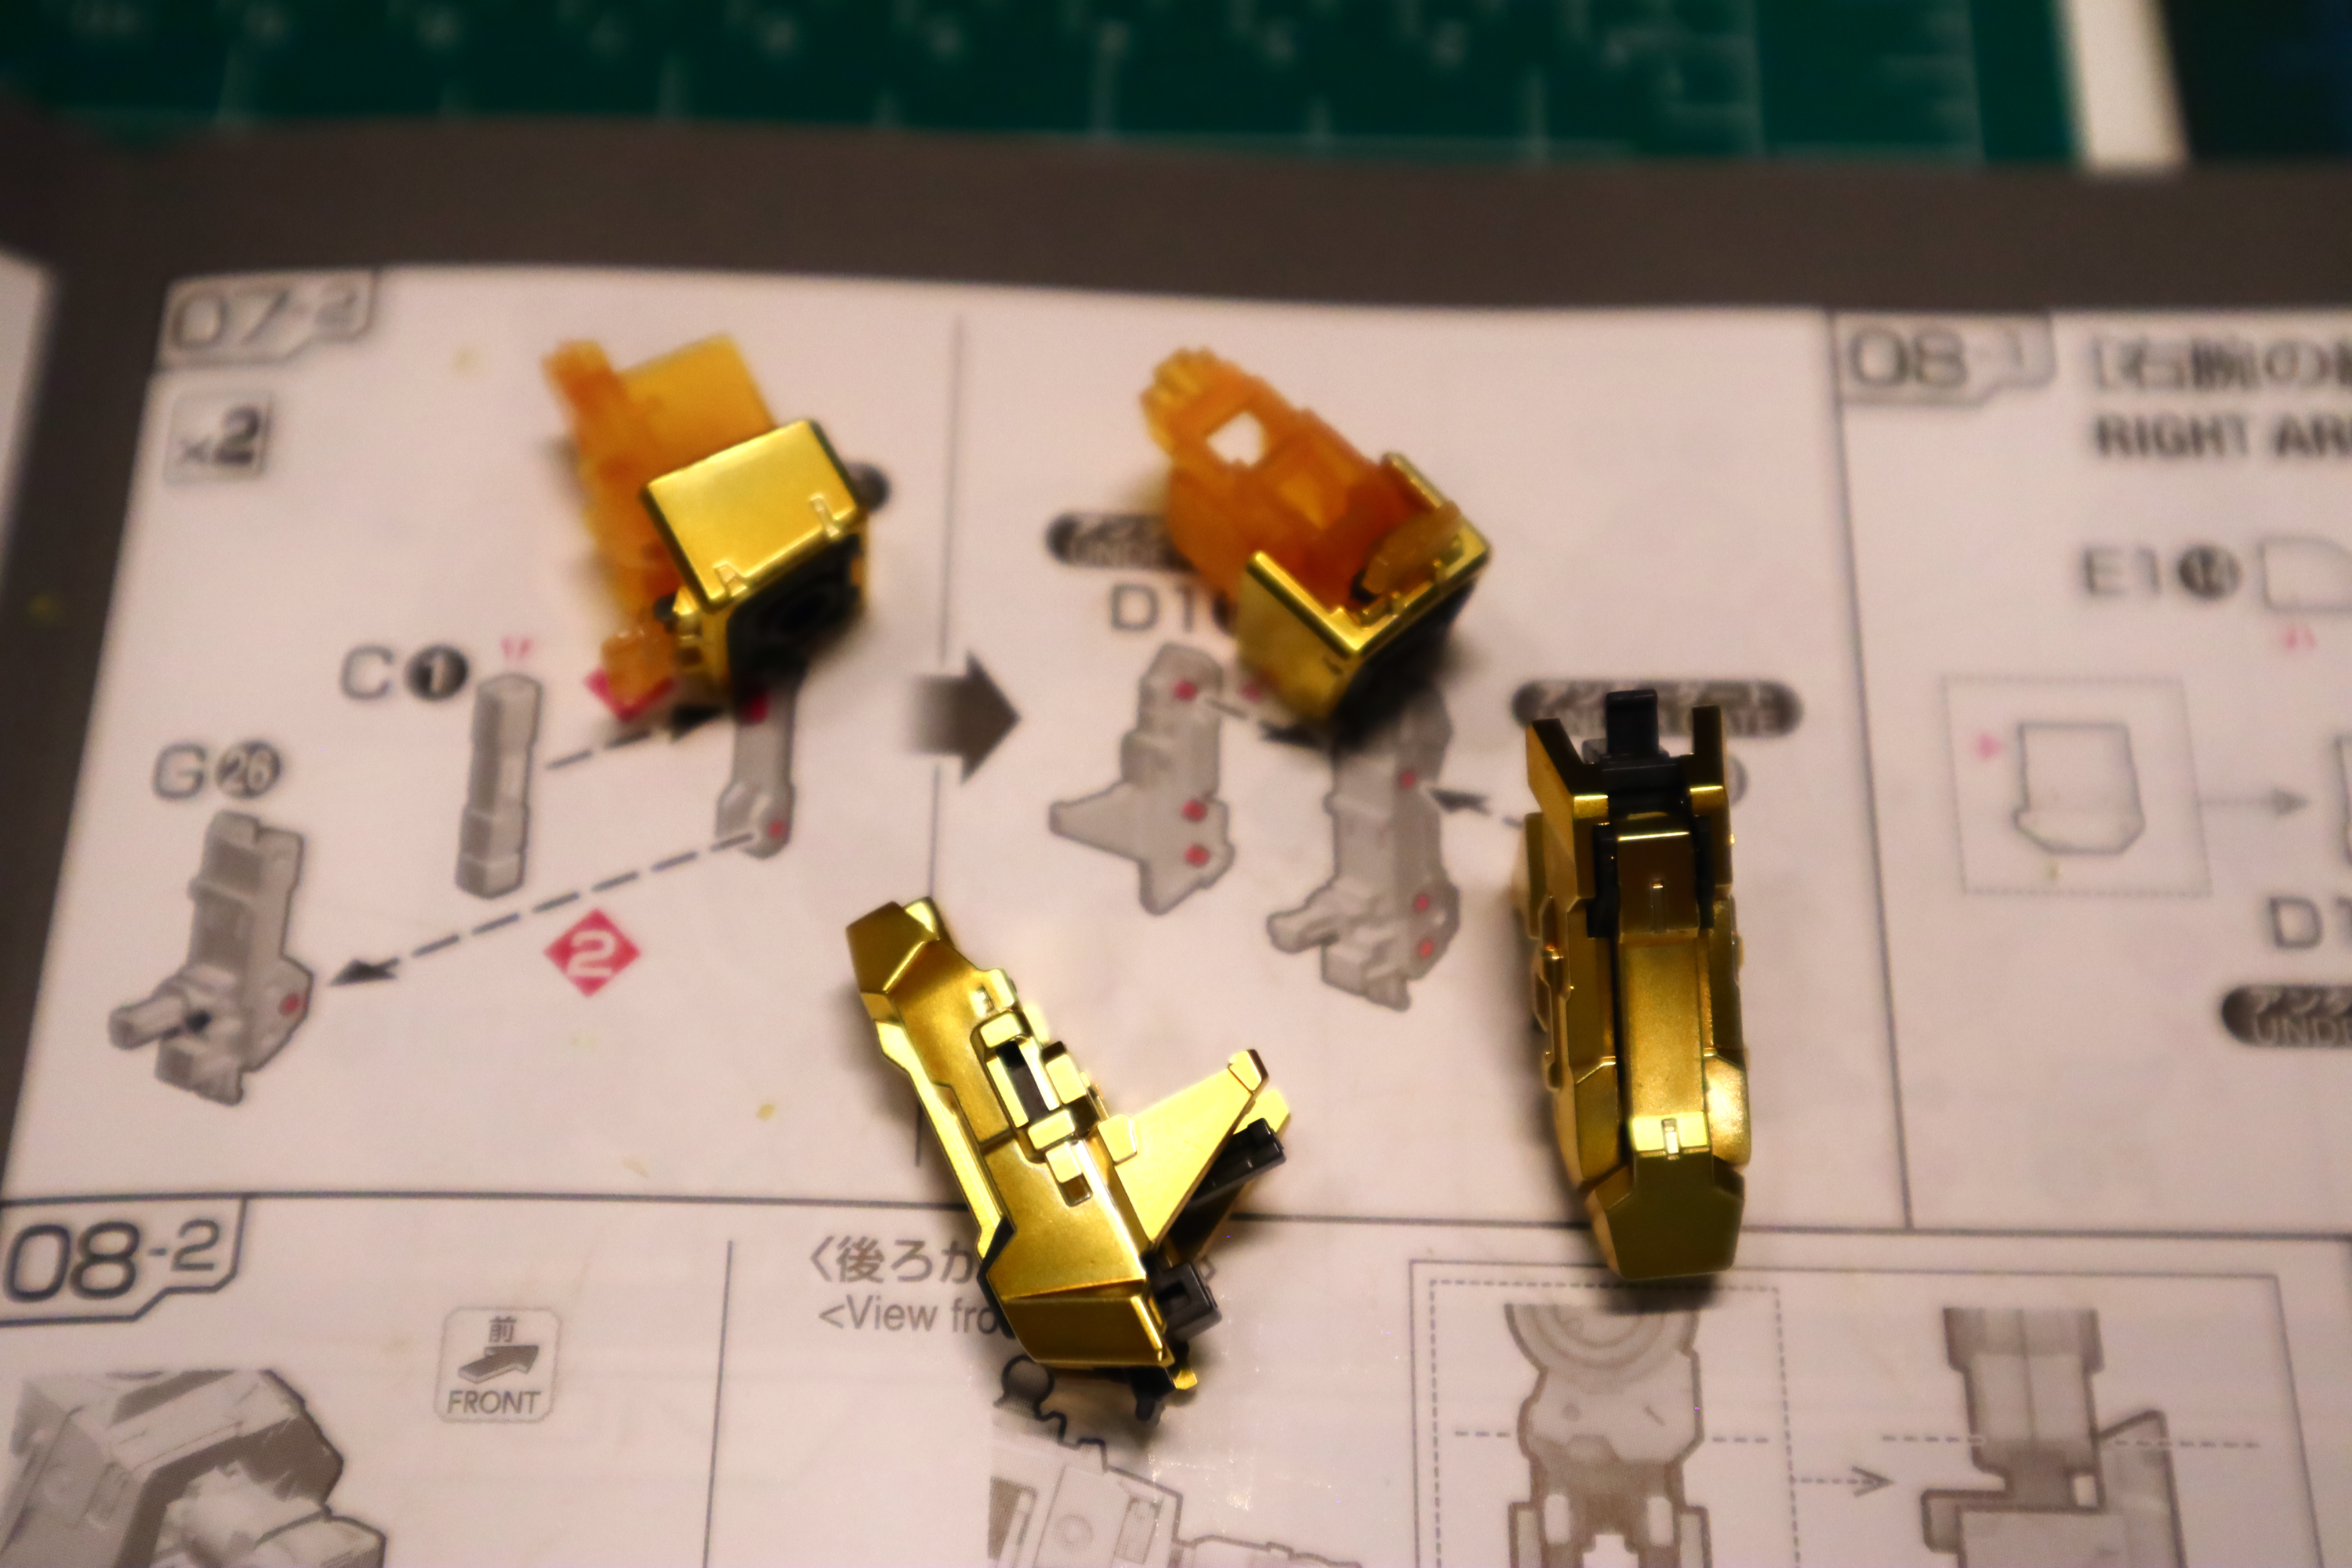
The right arm went off without a hitch and given the number of pieces and some of the more complex fits compared to the rest of the model, whatever tension I felt melted away and I was humming along once again.
The cool thing about this section of the model is that the instructions have you building both arms at the same time, so if you spent longer than normal on one section or piece to figure out orientation or fit, you’d get all the bugs worked out and build the duplicate part in a quarter of the time.
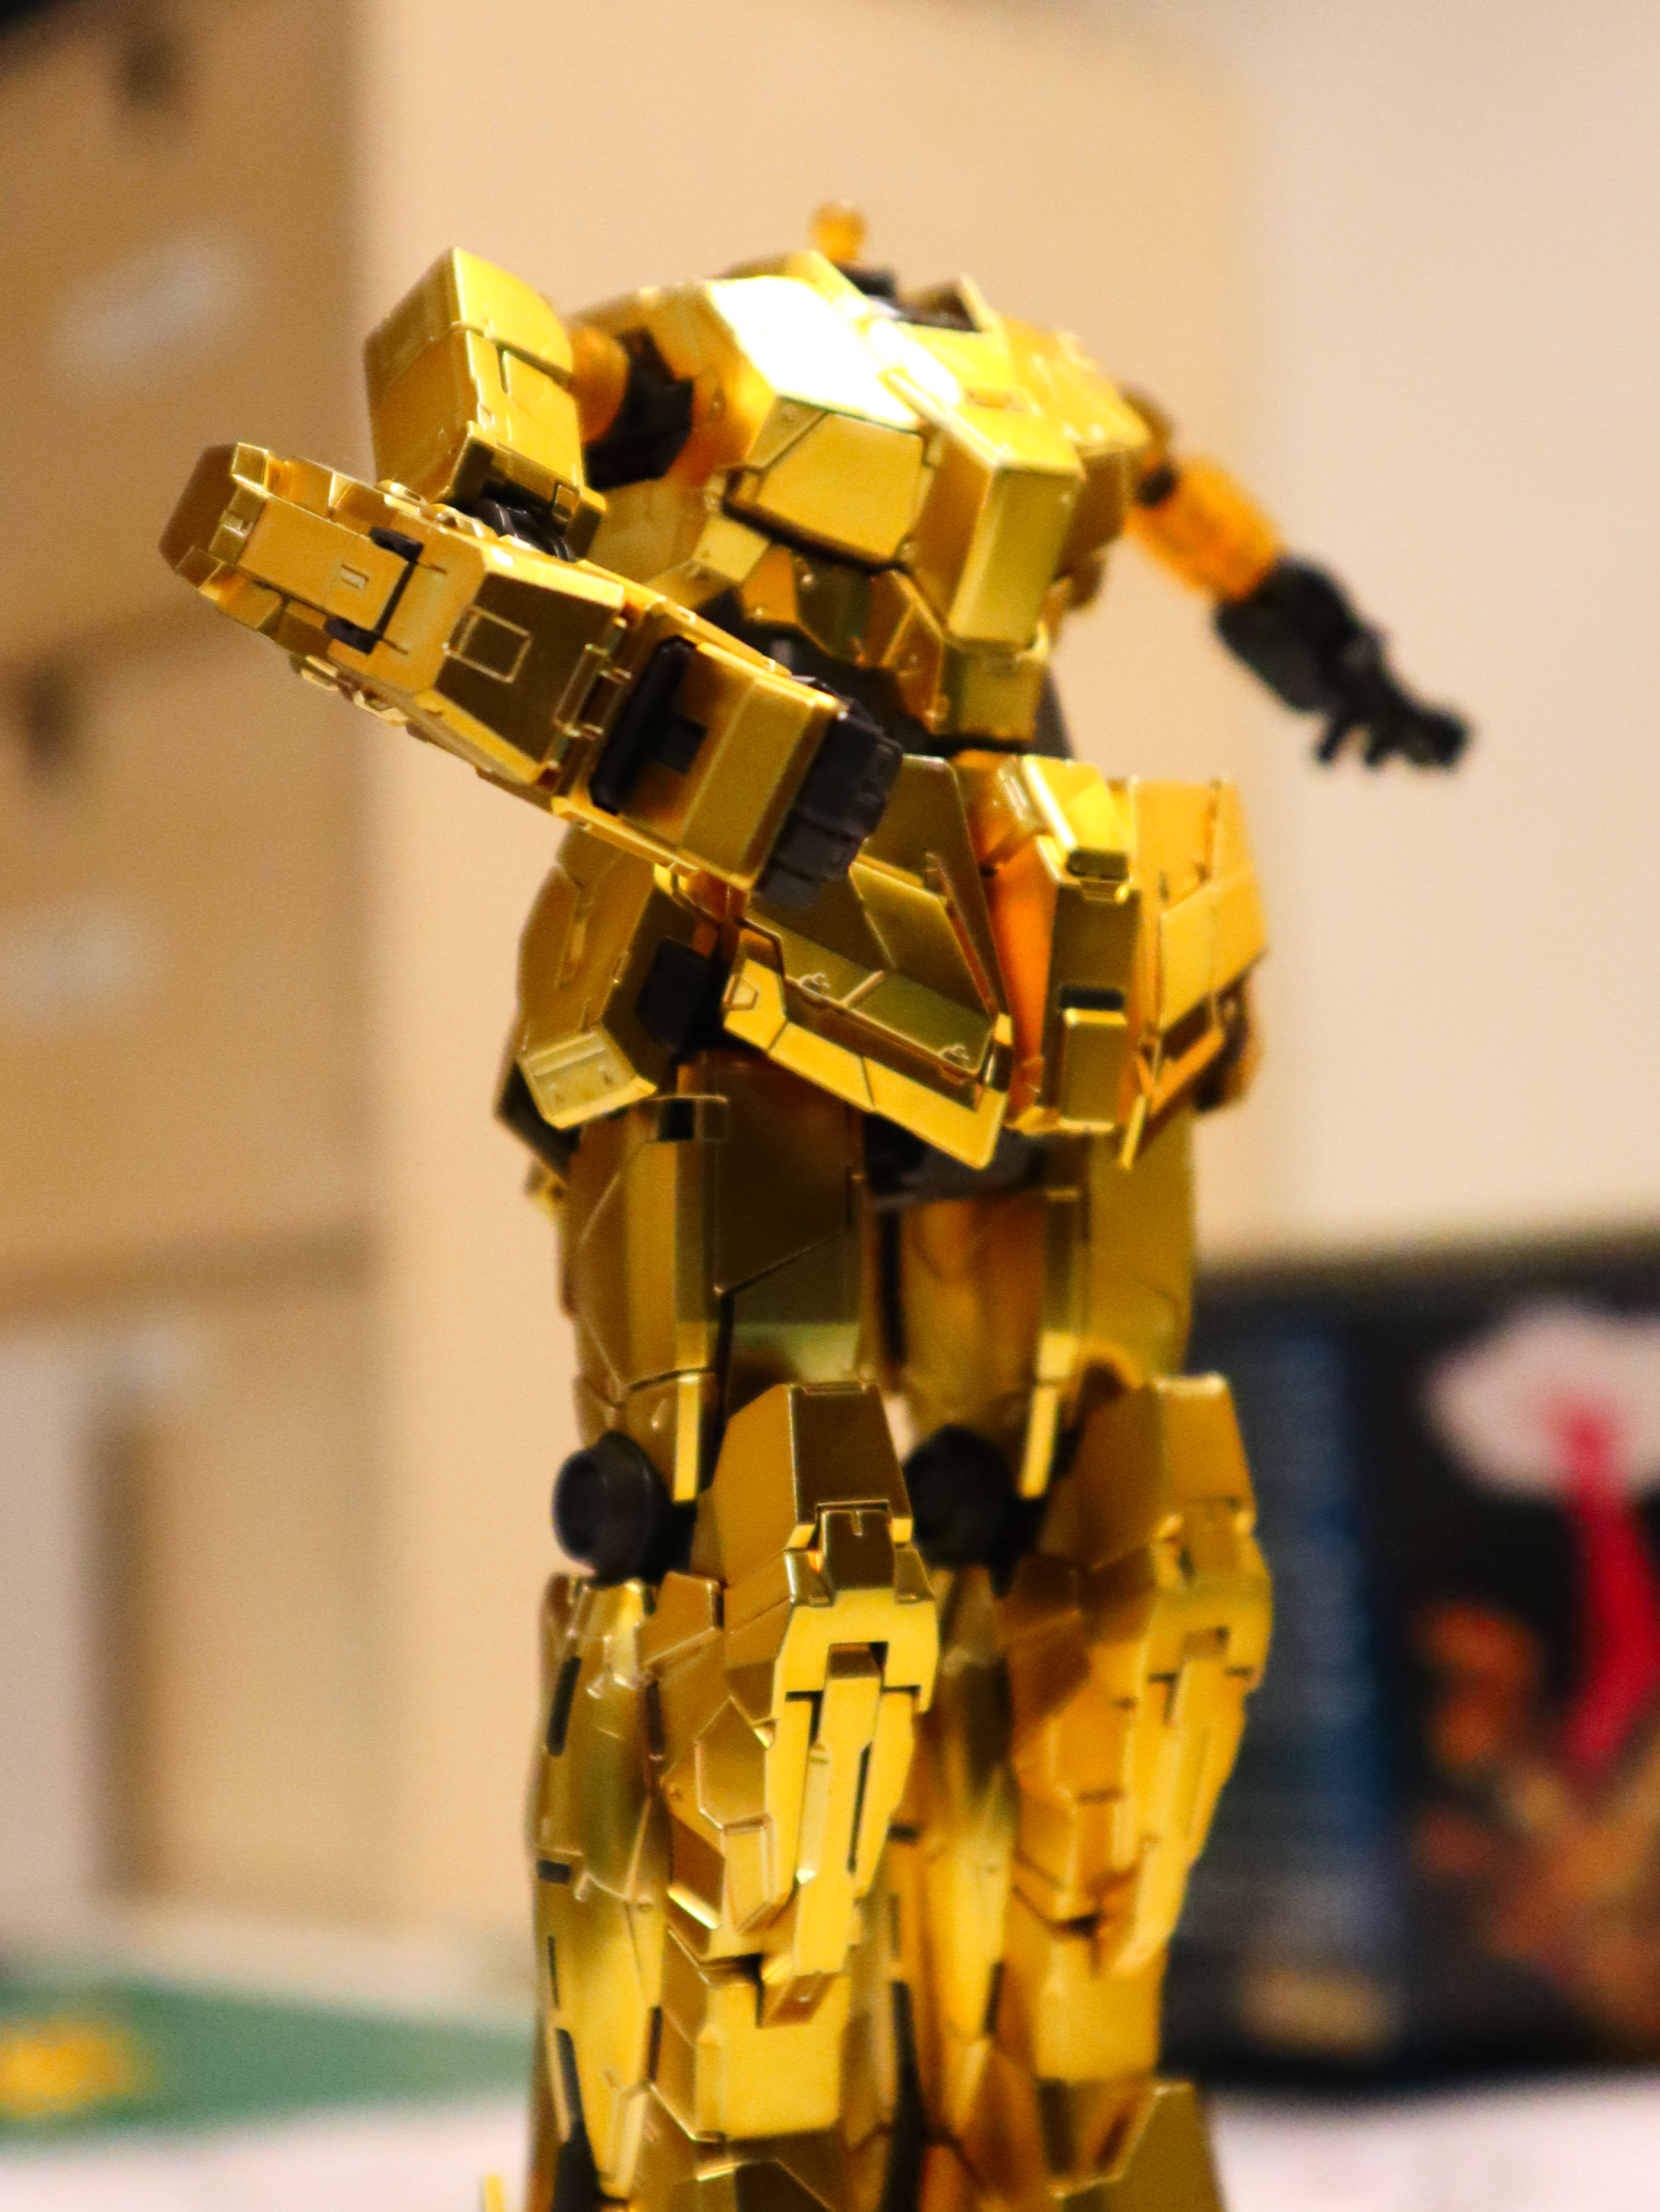
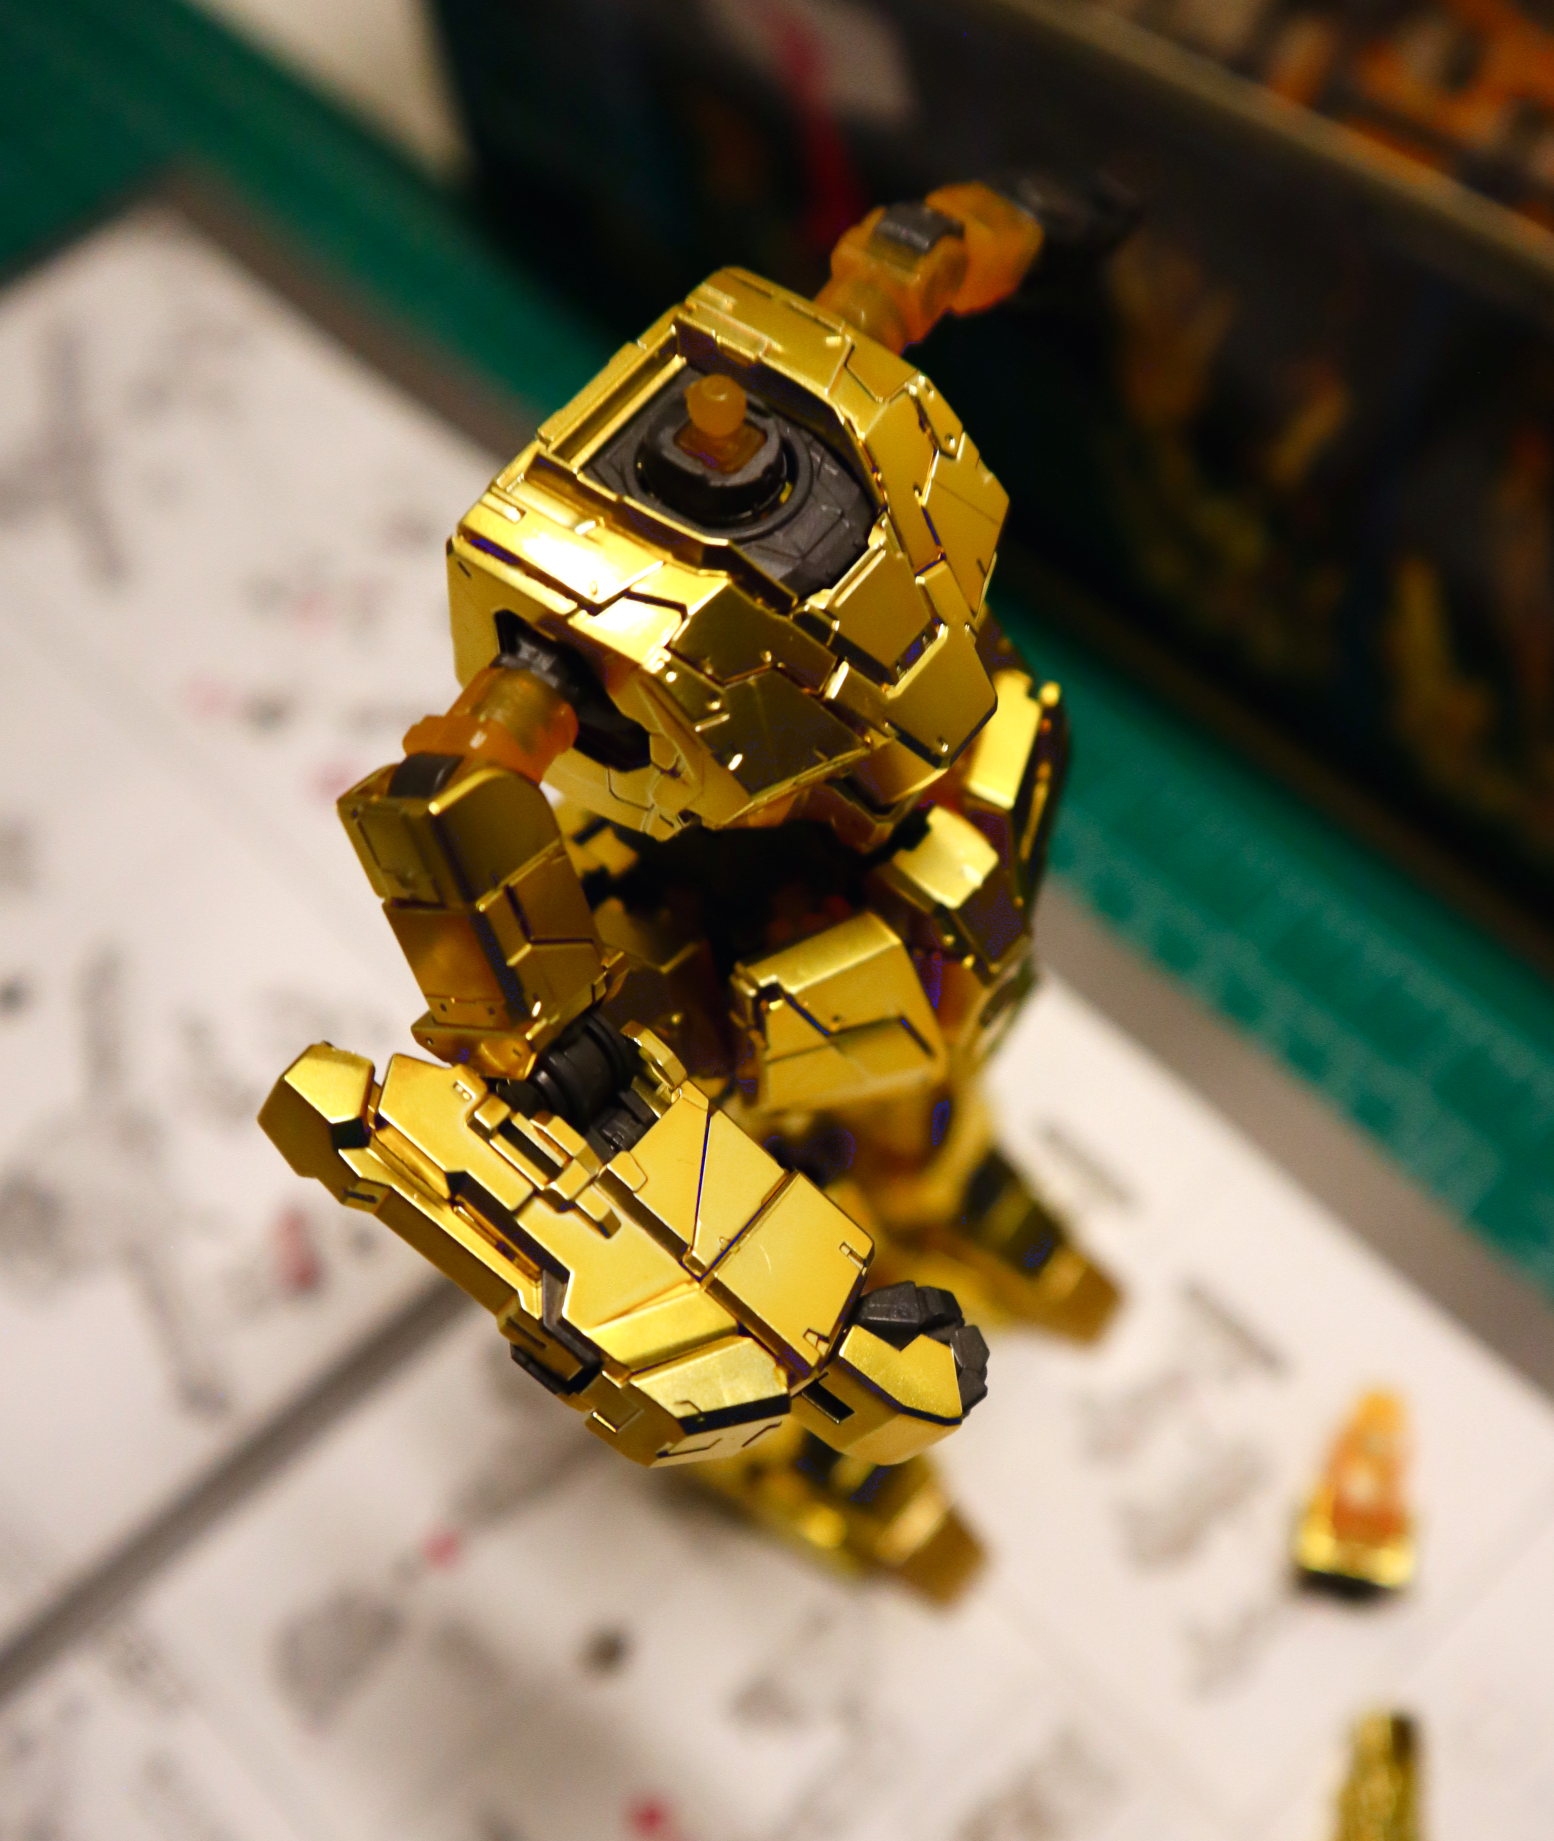
The only trepidation I felt was on the left arm, which is where I had the piece that kept backing out of its spot like a cat that doesn’t want to be held.
And sure enough, as I started putting the outer gold pieces on the arm, the process was made a bit more difficult since it didn’t stay where I needed it to stay so I could get the pieces on.
Thankfully, those same pieces went around the recalcitrant joint piece and it was forced to remain affixed to the elbow against its will.
I let out a grunt of satisfaction.
Always celebrate the small victories.
Next on the agenda were the shoulder pieces and if you know anything about gundams, these can be outrageously wacky or somewhat subdued, but they’re never shy and retreating.
Since this was a Unicorn model, it features a transformation mode and this proved to be my undoing on one of the shoulders.
The problems started almost immediately and were entirely of my own creation. Each shoulder is built around a core with a couple of pieces on hinges. On a normal gundam like an RX-78 or similar, the process is fairly simple and straightforward, but since this features a transformation, it was a bit more complex.
The problem I encountered wasn’t a stranger to me, but a well-known and unwelcome visitor – figuring out the proper orientation of pieces when fitting them together, especially when there’s a hinge and moving parts.
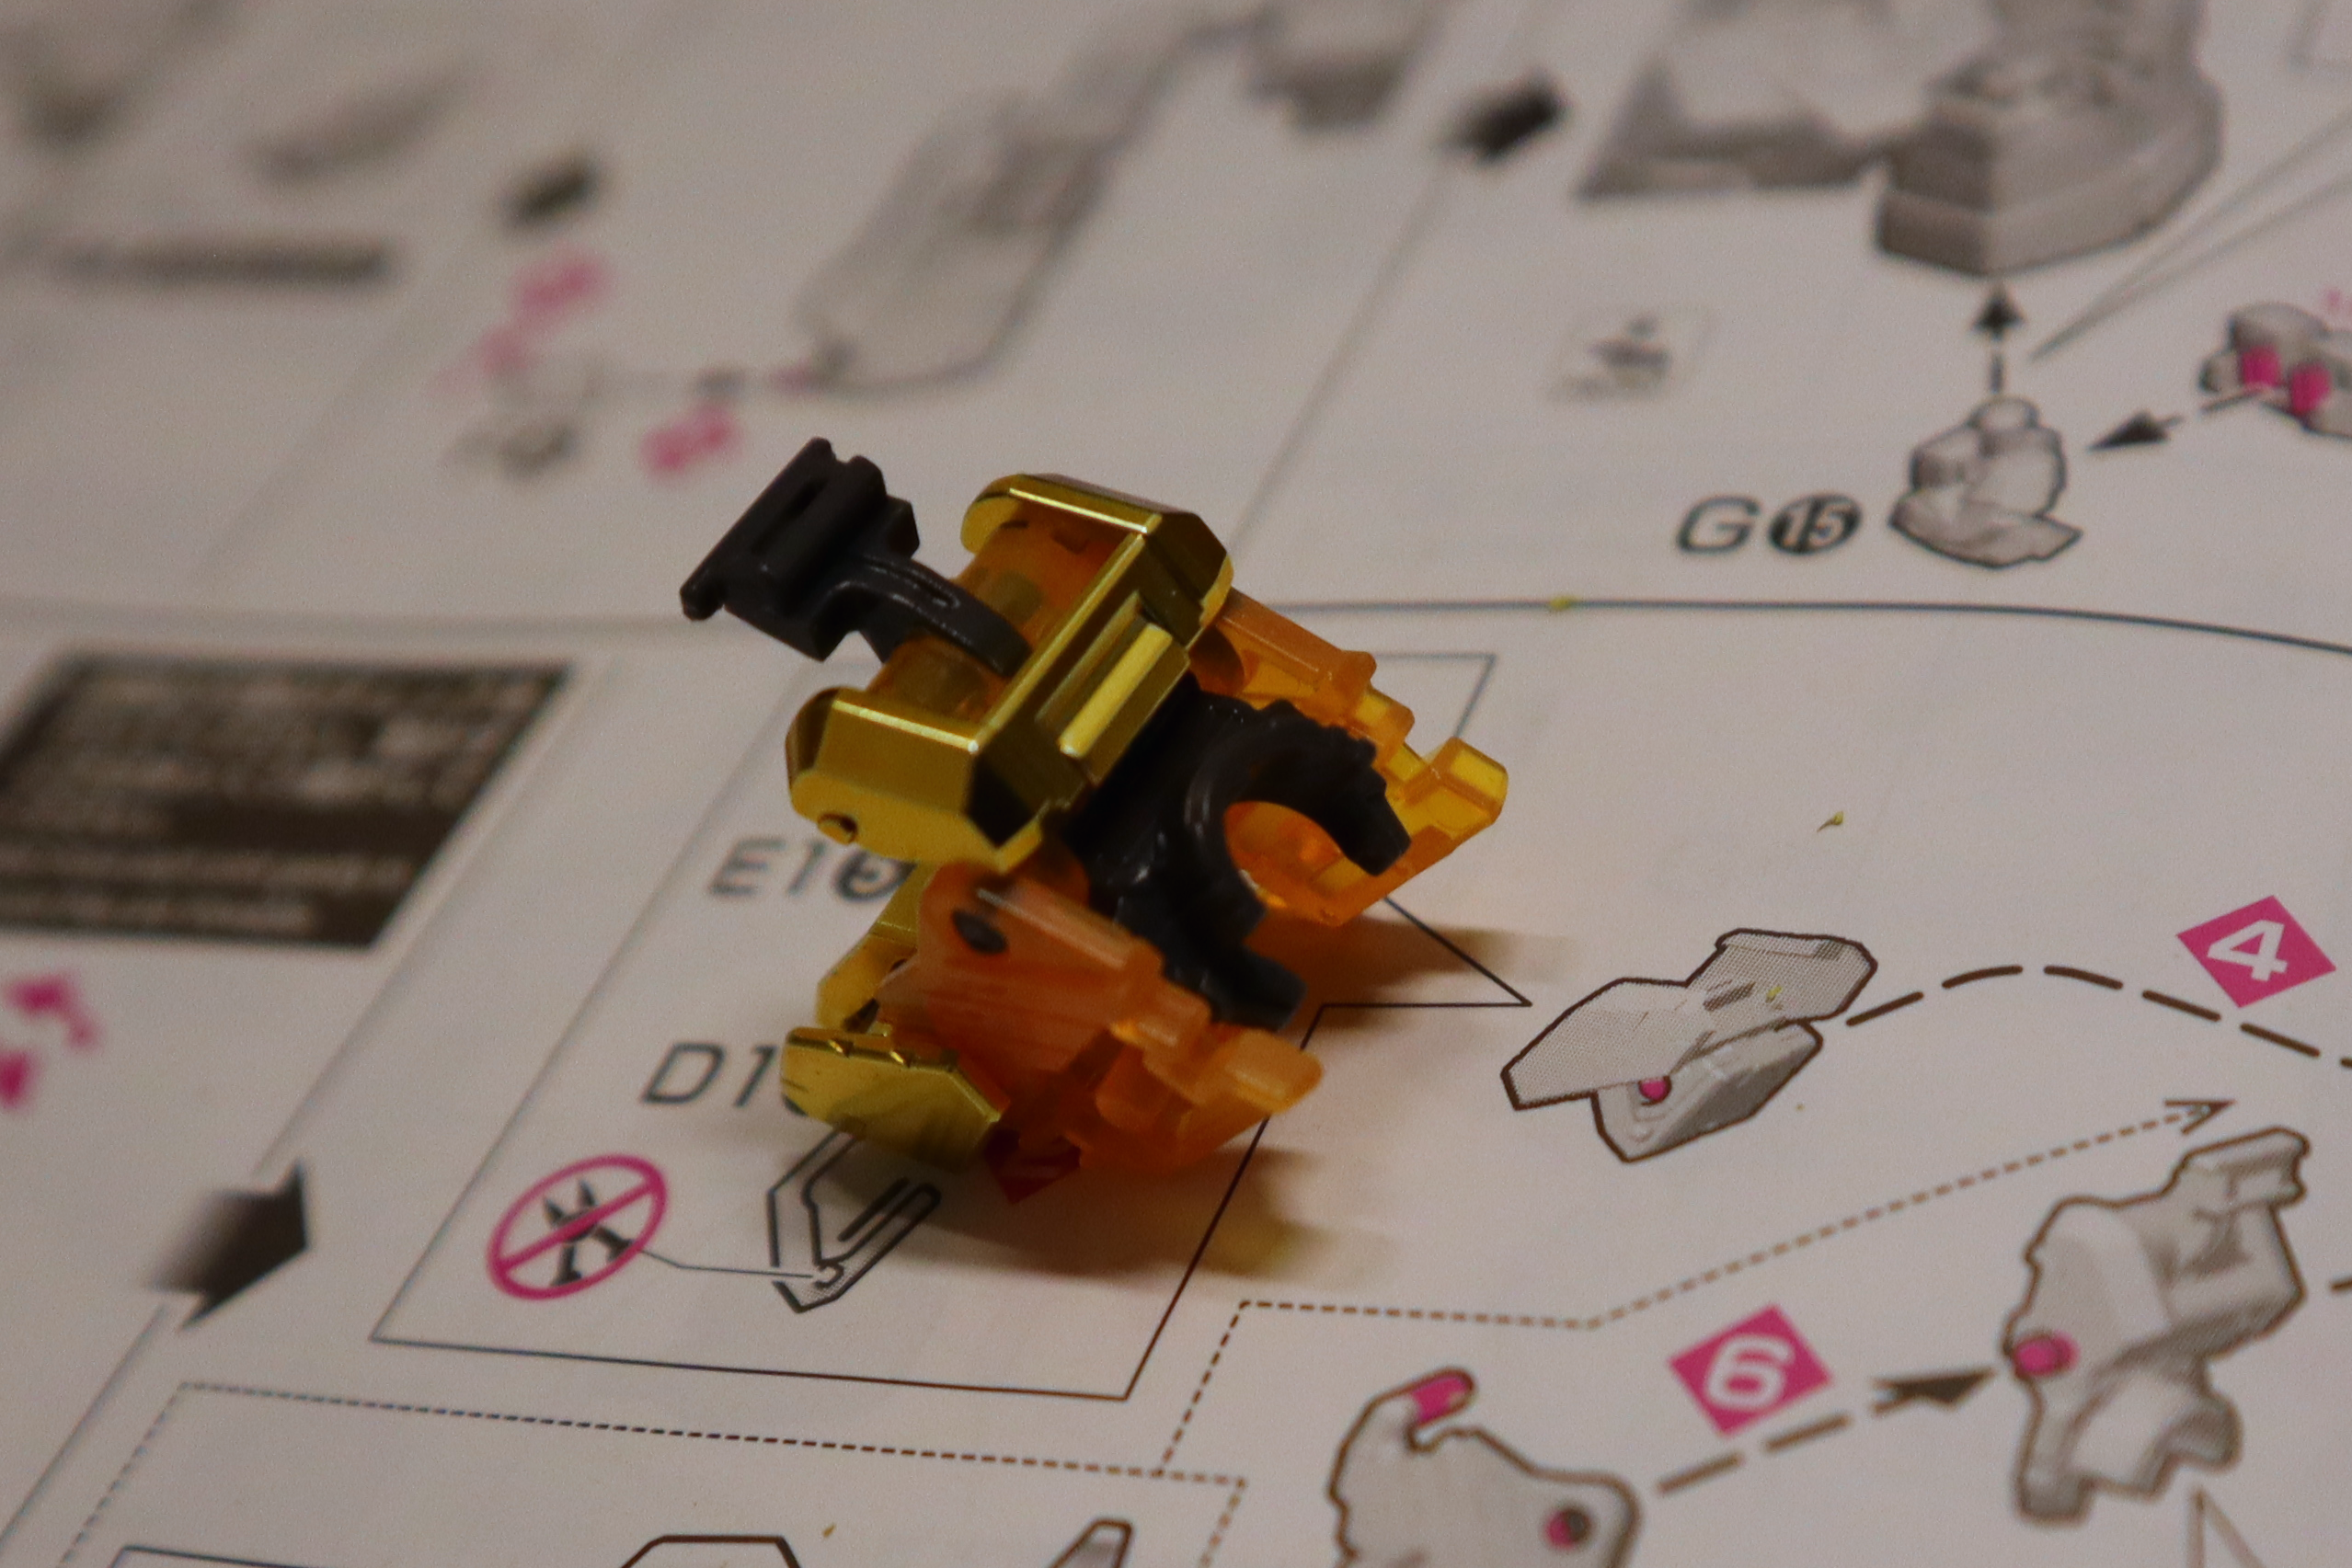
After I got the pieces together in what I thought was the correct configuration, the instructions say to rotate a couple of pieces to allow the placement of another piece, and I just could not figure out why nothing was rotating the way it was supposed to according to the manual.
Picture if you will a man seated at a small desk. His face a contorted mix of confusion and concentration as he peers intently at a small piece of gilded plastic. He turns it in his fingers and then stares at an instruction manual before returning his attention back to the piece. He repeats this minor ritual in the vain hope of completing the prescribed steps so he can finally move on from this place of banal torment.
Unbeknownst to him, but beknownst to us, he will remain firmly affixed in this limbo of his own design until such a time that fate, and perhaps inspiration from beyond, finally release him from this small corner of…The Twilight Zone.
Anyway.
At a certain point, I’d taken apart and reassembled the shoulder piece until parts that once fit snugly together started to loosen and eventually started falling off more easily than they should. Luckily, I cracked the code before things got too bad and I had to reach for the Tamiya cement.
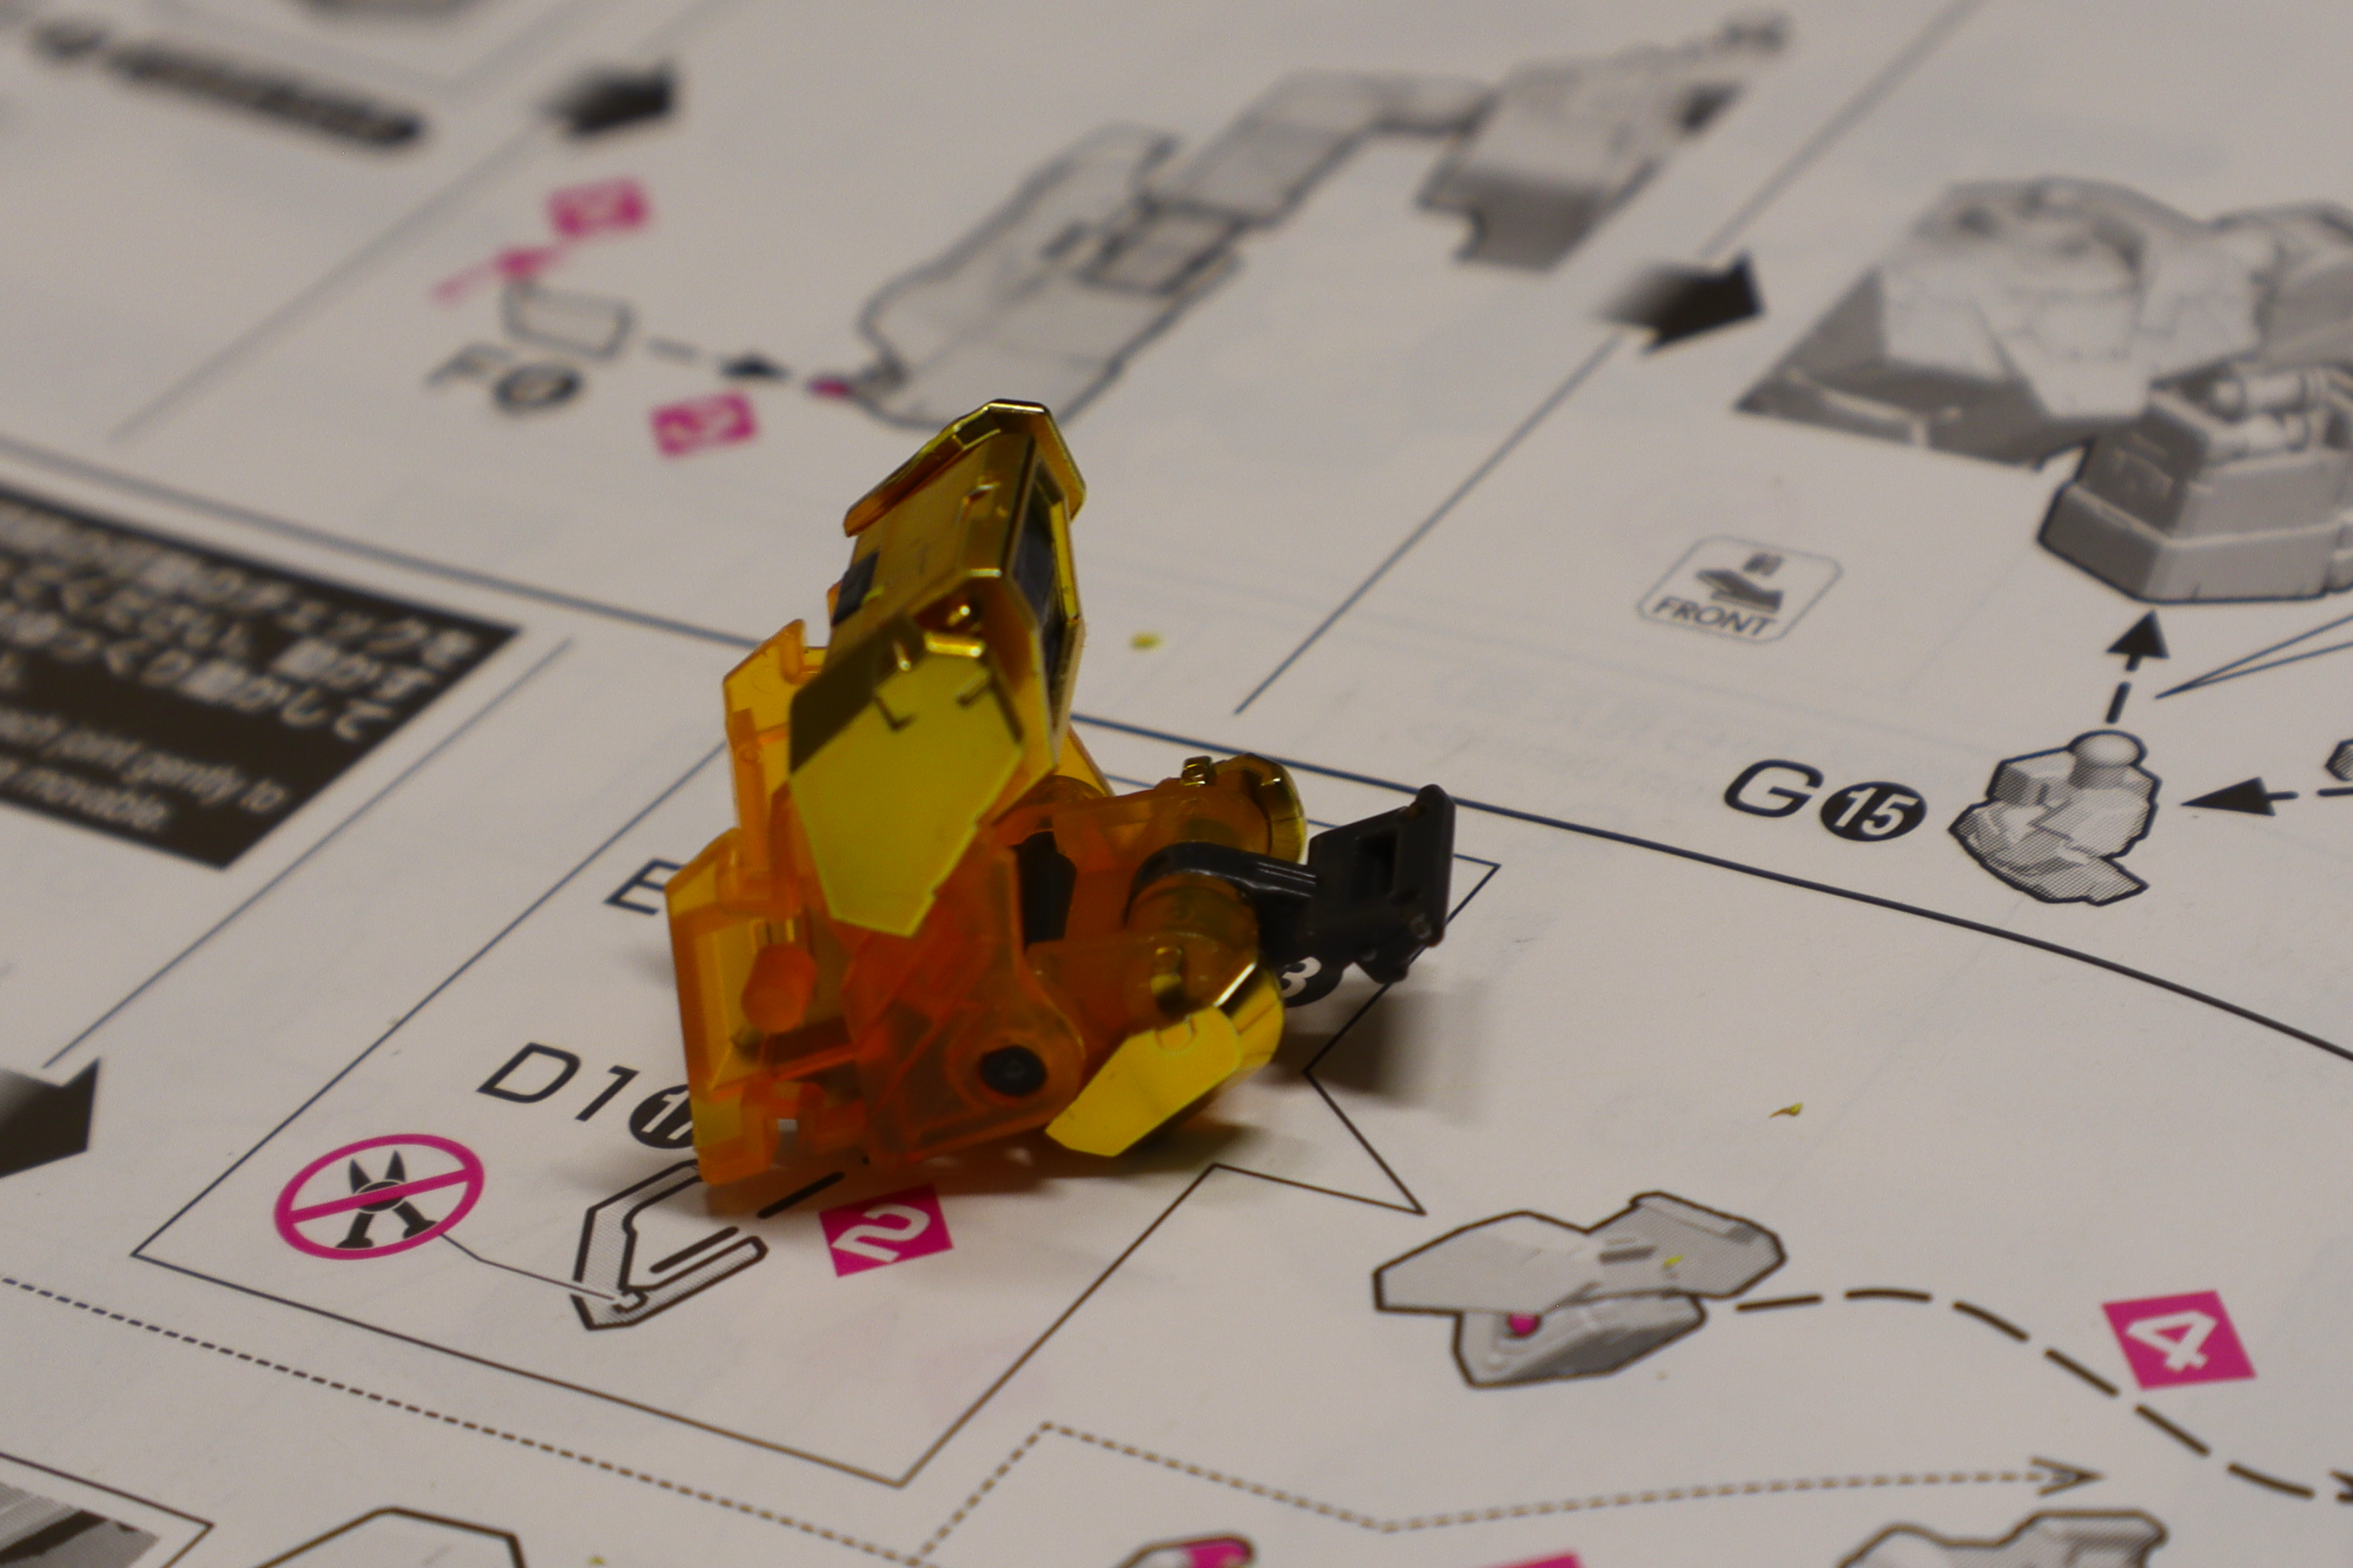
Like I mentioned earlier, the advantage of doing two duplicate pieces one right after the other is that the second shoulder went a lot faster than the first.
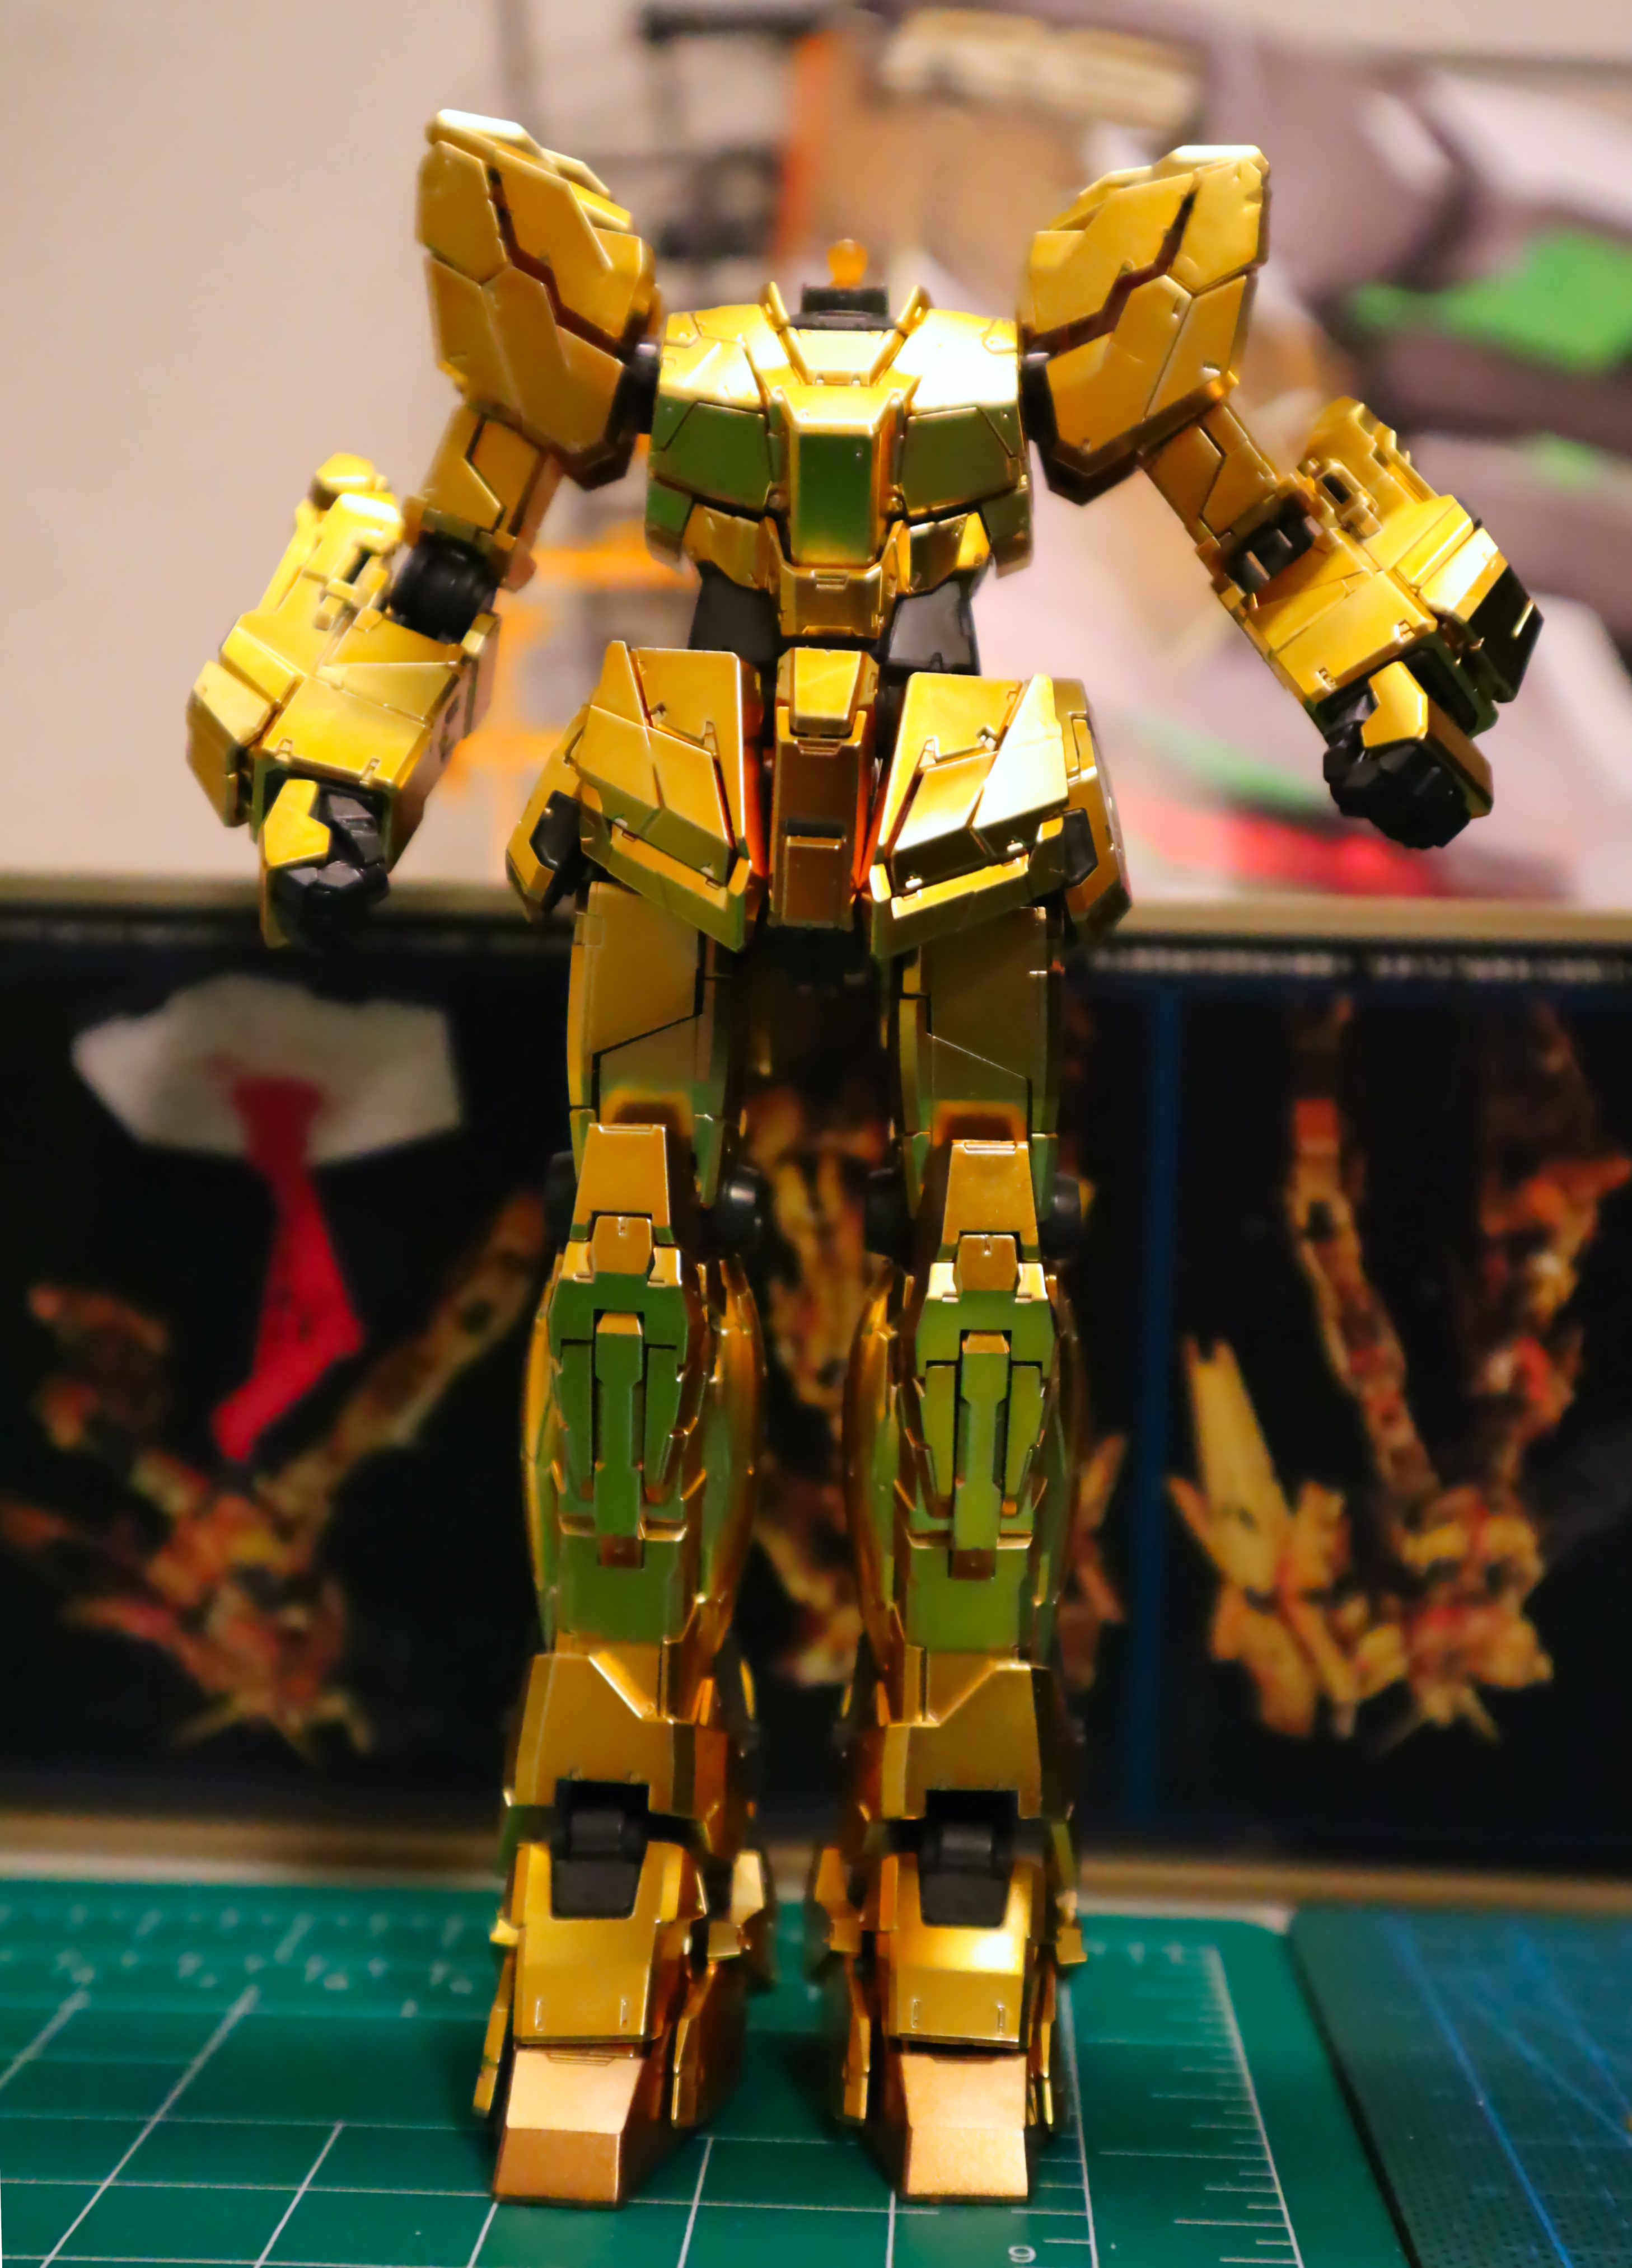

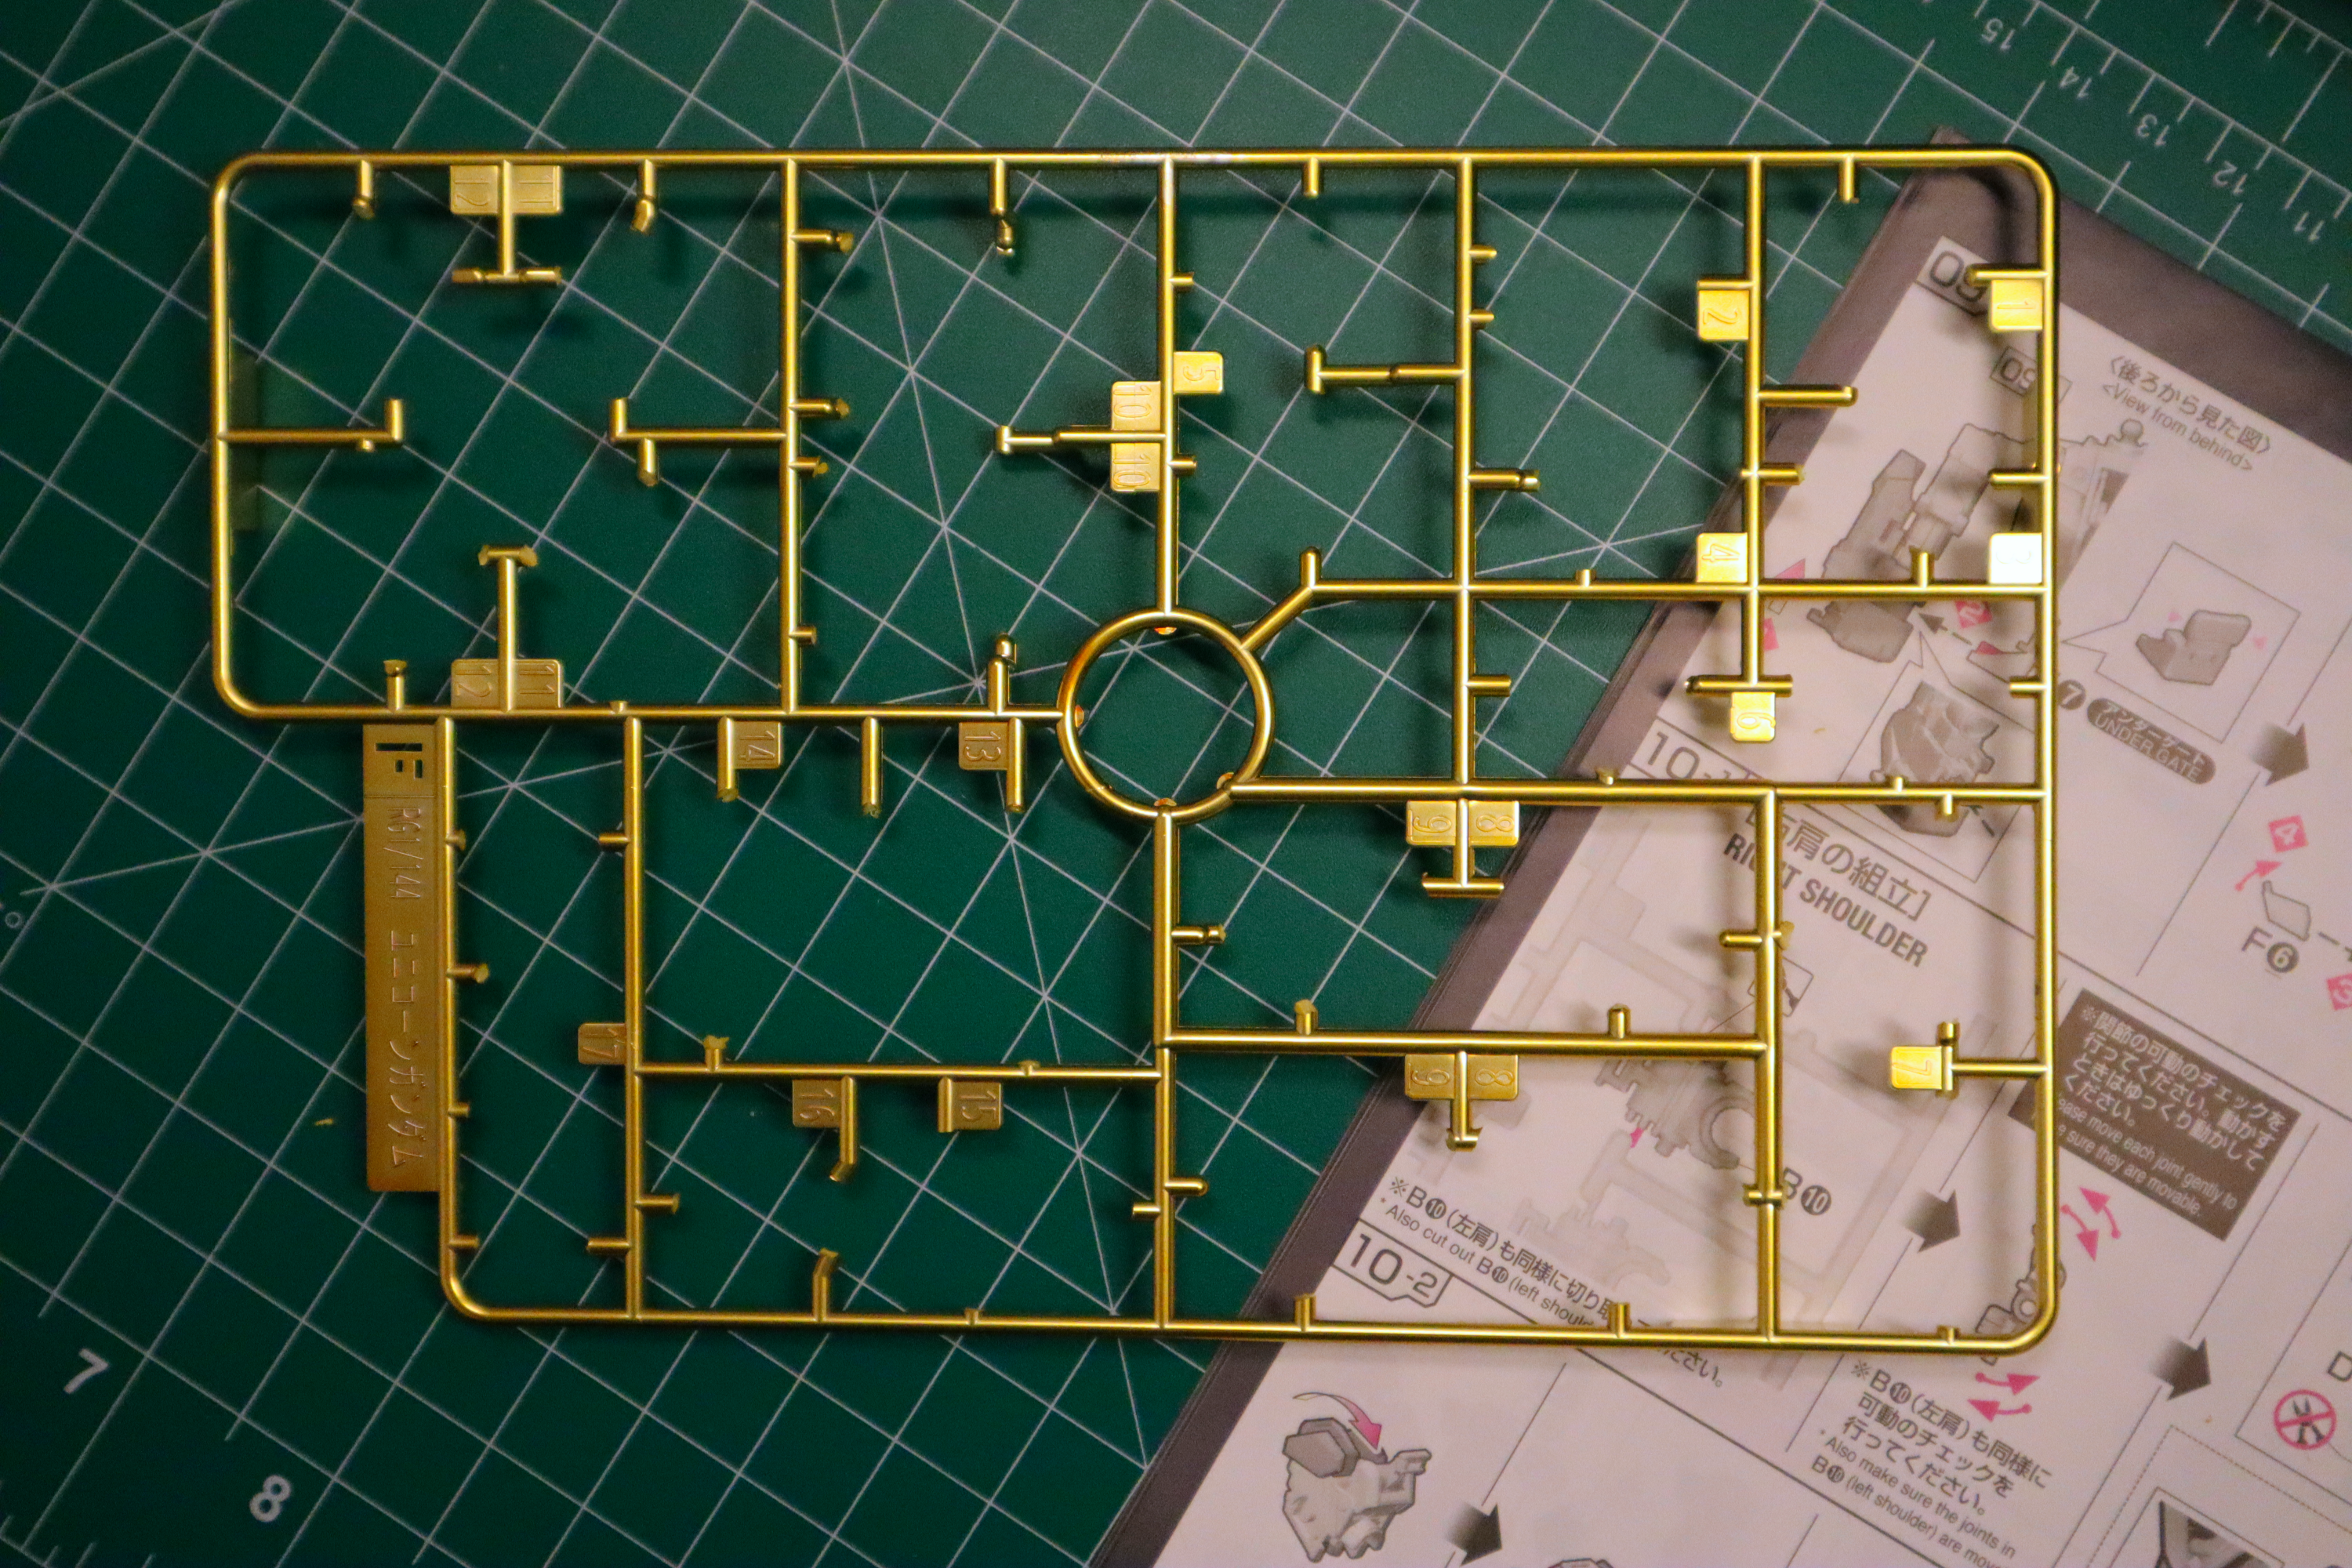
I also hit a major milestone as the last piece to complete the left shoulder meant that I’d emptied my first sprue.
At this point, all that’s really left is to put a good head on these shoulders and build out the weapons, which I’ll get to in the next session.