Aluminum Overcast
Putting Things Together
Categories
Archive
Unicorn_Gundam RG Gunpla Gundam Gold_Plated BandaiA Gundam Without Weapons is Just Dam
24 Nov 2024 - Clint Fandango
Tags: Bandai Gundam Gunpla RG Unicorn_Gundam Gold_Plated
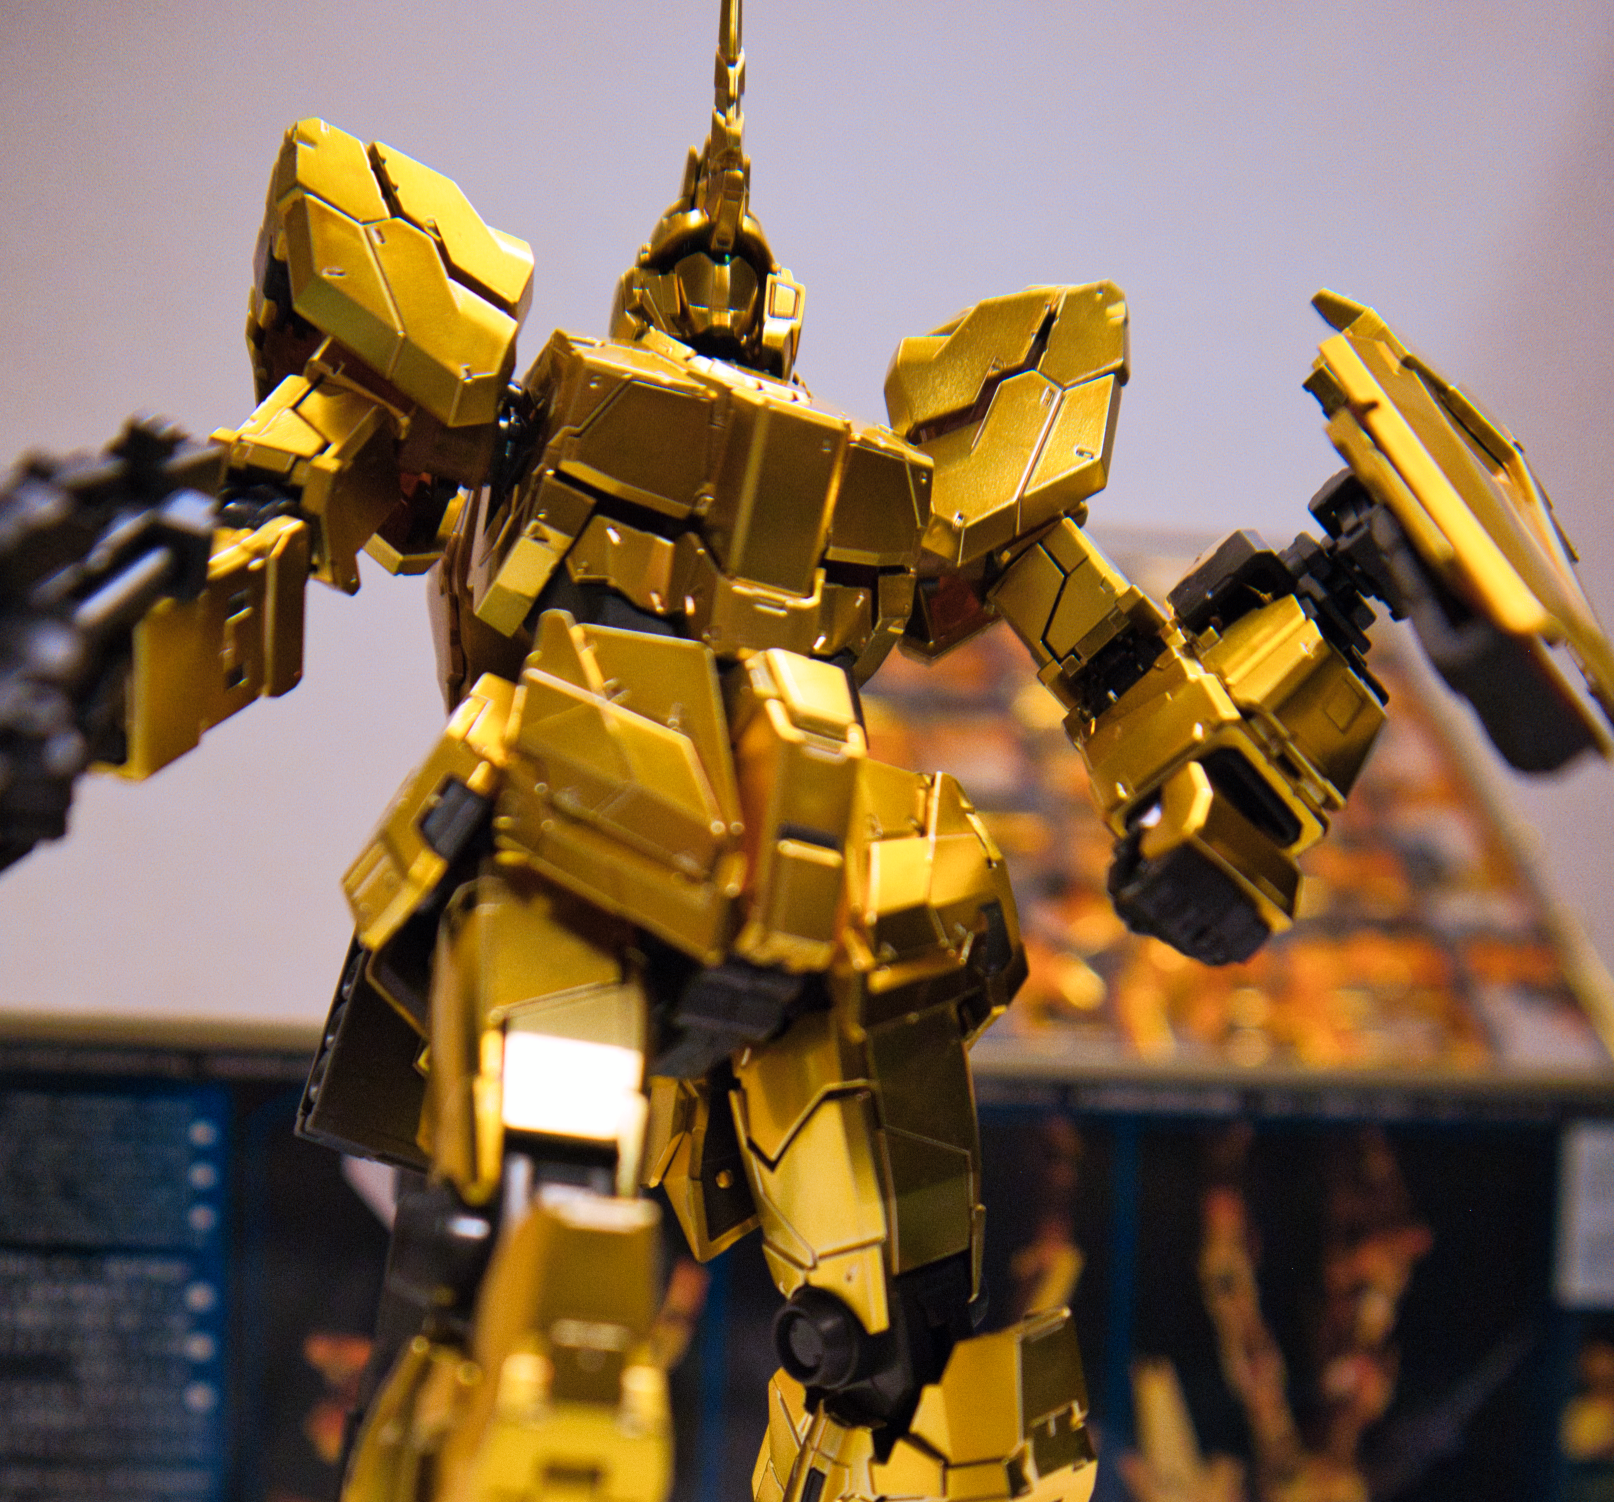
It’s always a little bittersweet reaching the end of a model build, especially a fun one that goes well like this one has.
We’re at the last steps in the instruction manual for what some could consider to be the miscellaneous pieces – the various weapons and the shield itself.
The weapons themselves are almost always easy to get through, since there are few pieces and they’re made of ABS plastic, which is really forgiving of stress marks – sometimes you can just scrape off excess with your thumbnail, so there’s not a lot of clean-up to do on them.
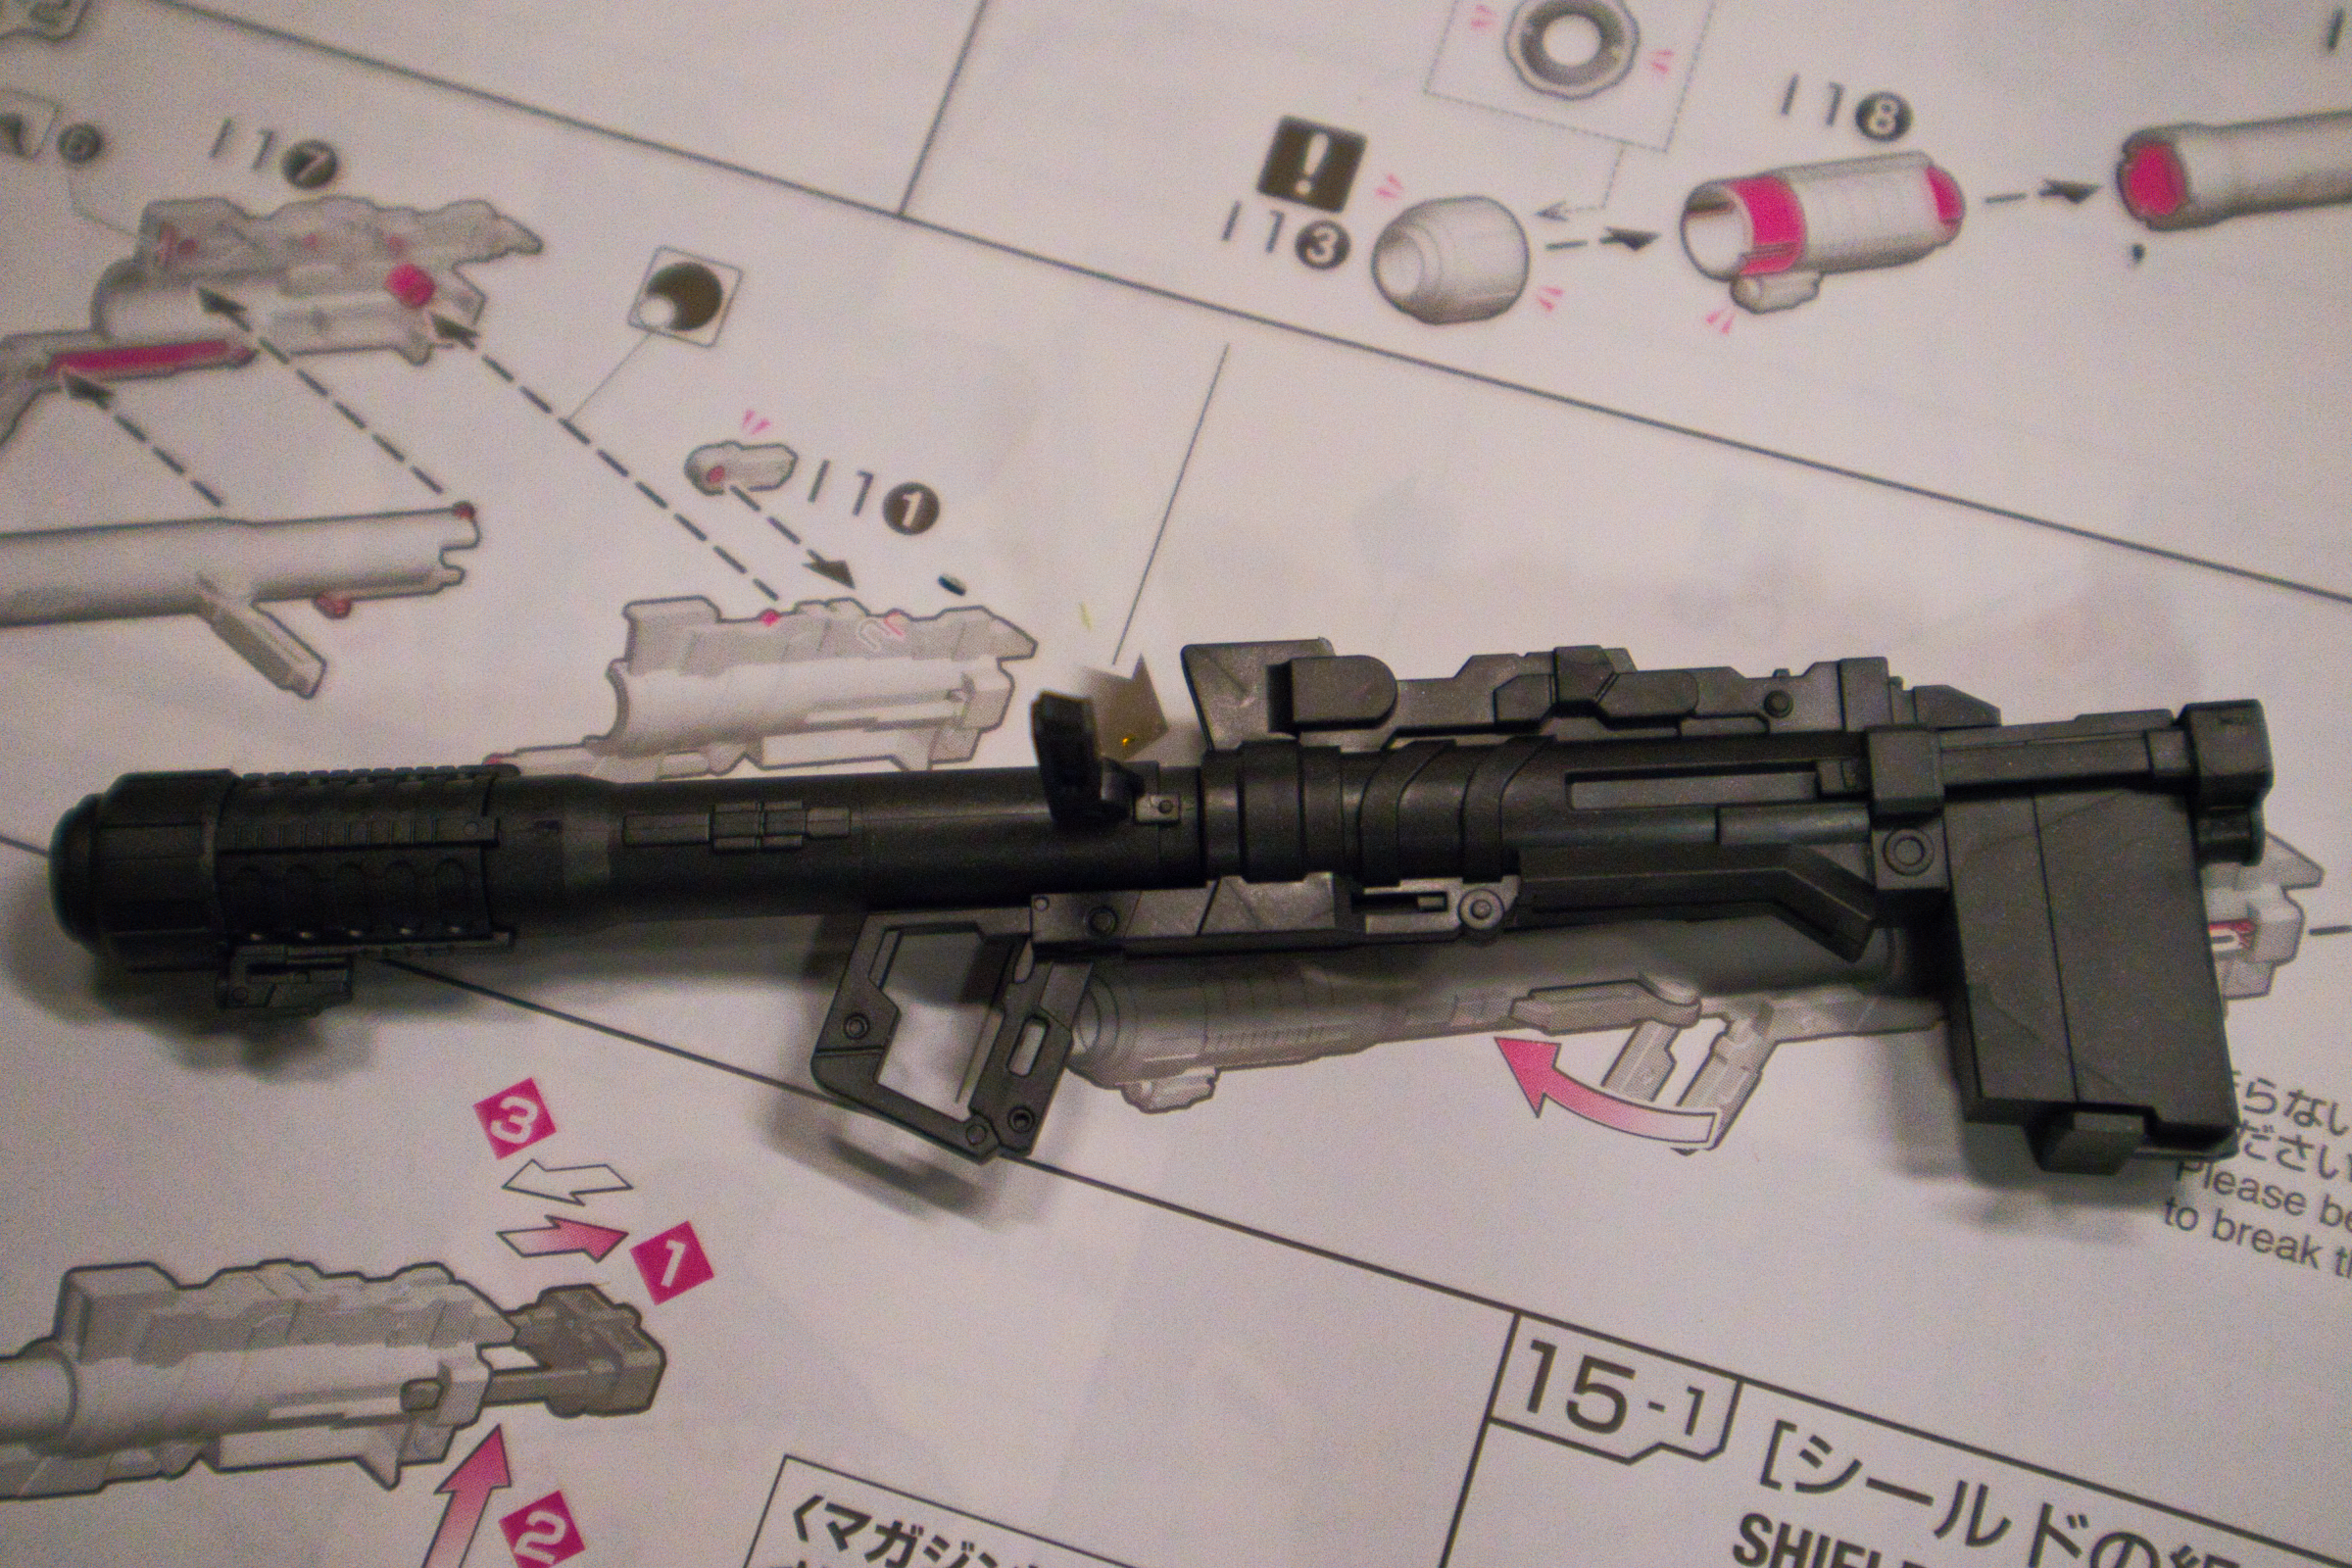
However, these weapons have multiple modes available, so there’s moving pieces and I had to pause when I saw this in the manual:
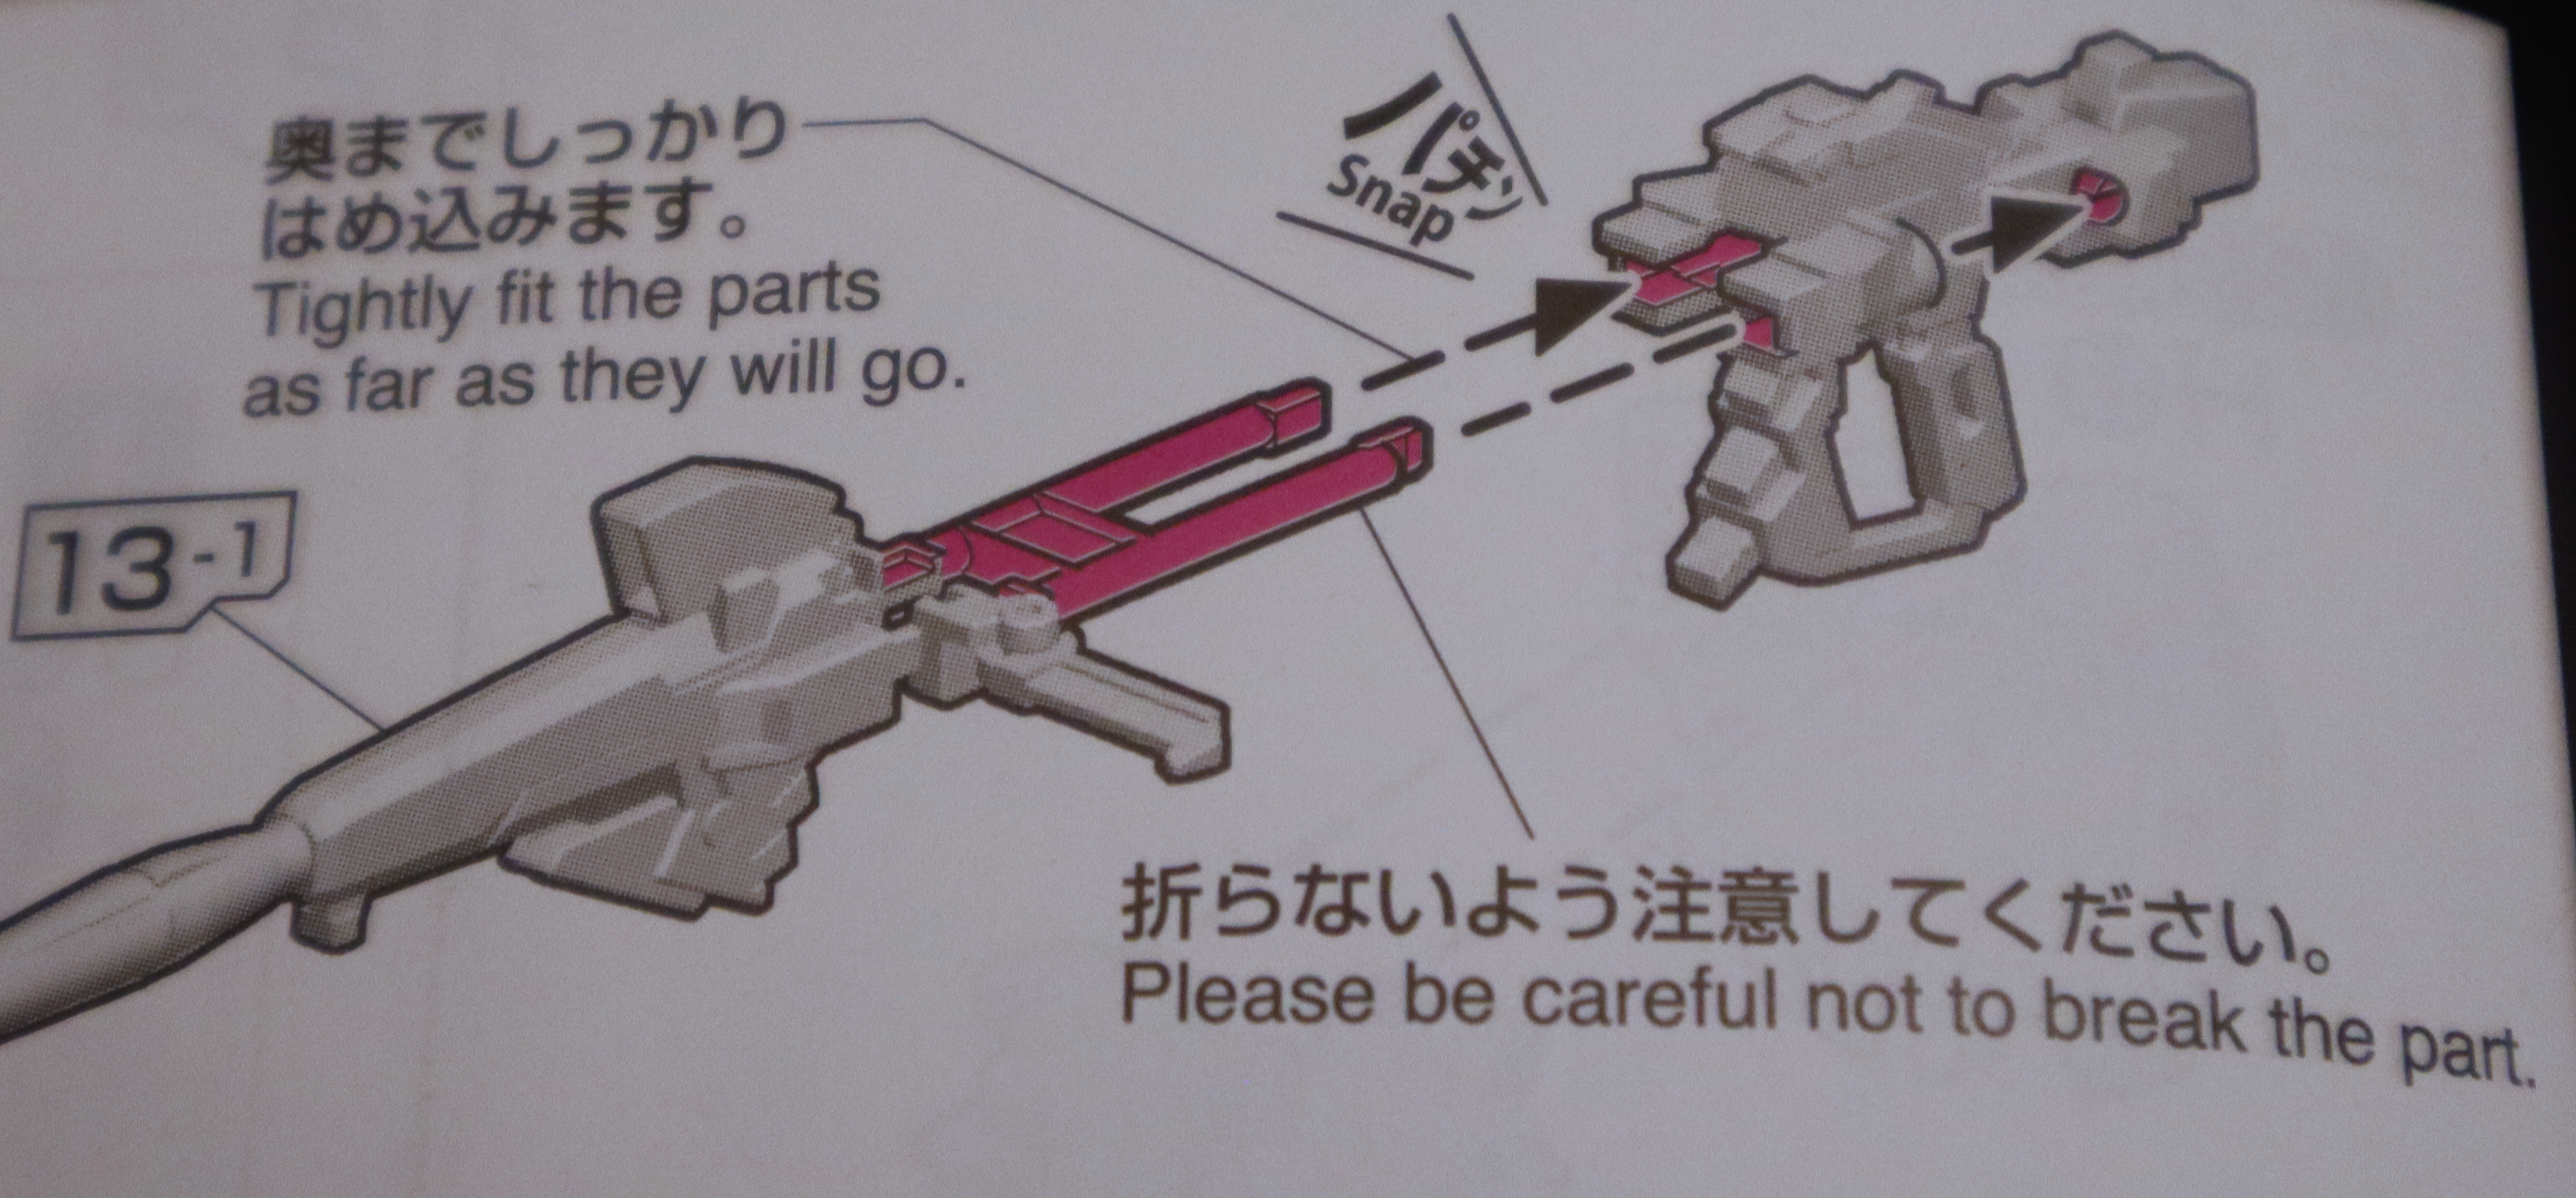
Luckily there were no issues and no parts were broken, so we’re already winning.
If I have one recommendation for anyone getting into building models like this, it’s to paint the weapons on these. It’s good practice to get a feel for how to paint on something that isn’t critical to the gundam’s appearance, but it’ll really enhance the overall look of the model.
Even if you don’t want to do any painting on the model itself, I would strongly suggest painting the weapons, since they are by far the weakest looking pieces. You can have a gundam model that looks fantastic out of the box, but the weapons themselves always look like cheesy plastic and really detract from the overall appearance of the model, so I always paint them no matter what.
You don’t even need to do any weathering or advanced techniques either – just a simple gunmetal coating is enough to enhance their appearance, but at the same time, weapons are the perfect way to practice those techniques if you decide to take a stab at it.
This particular model comes with a bazooka and rifle that have some movement to them. It’s a nice extra element for these weapons that can usually just be plain, static pieces, but one of my concerns is that these could easily wear with too many movements and pieces would no longer hold in place.

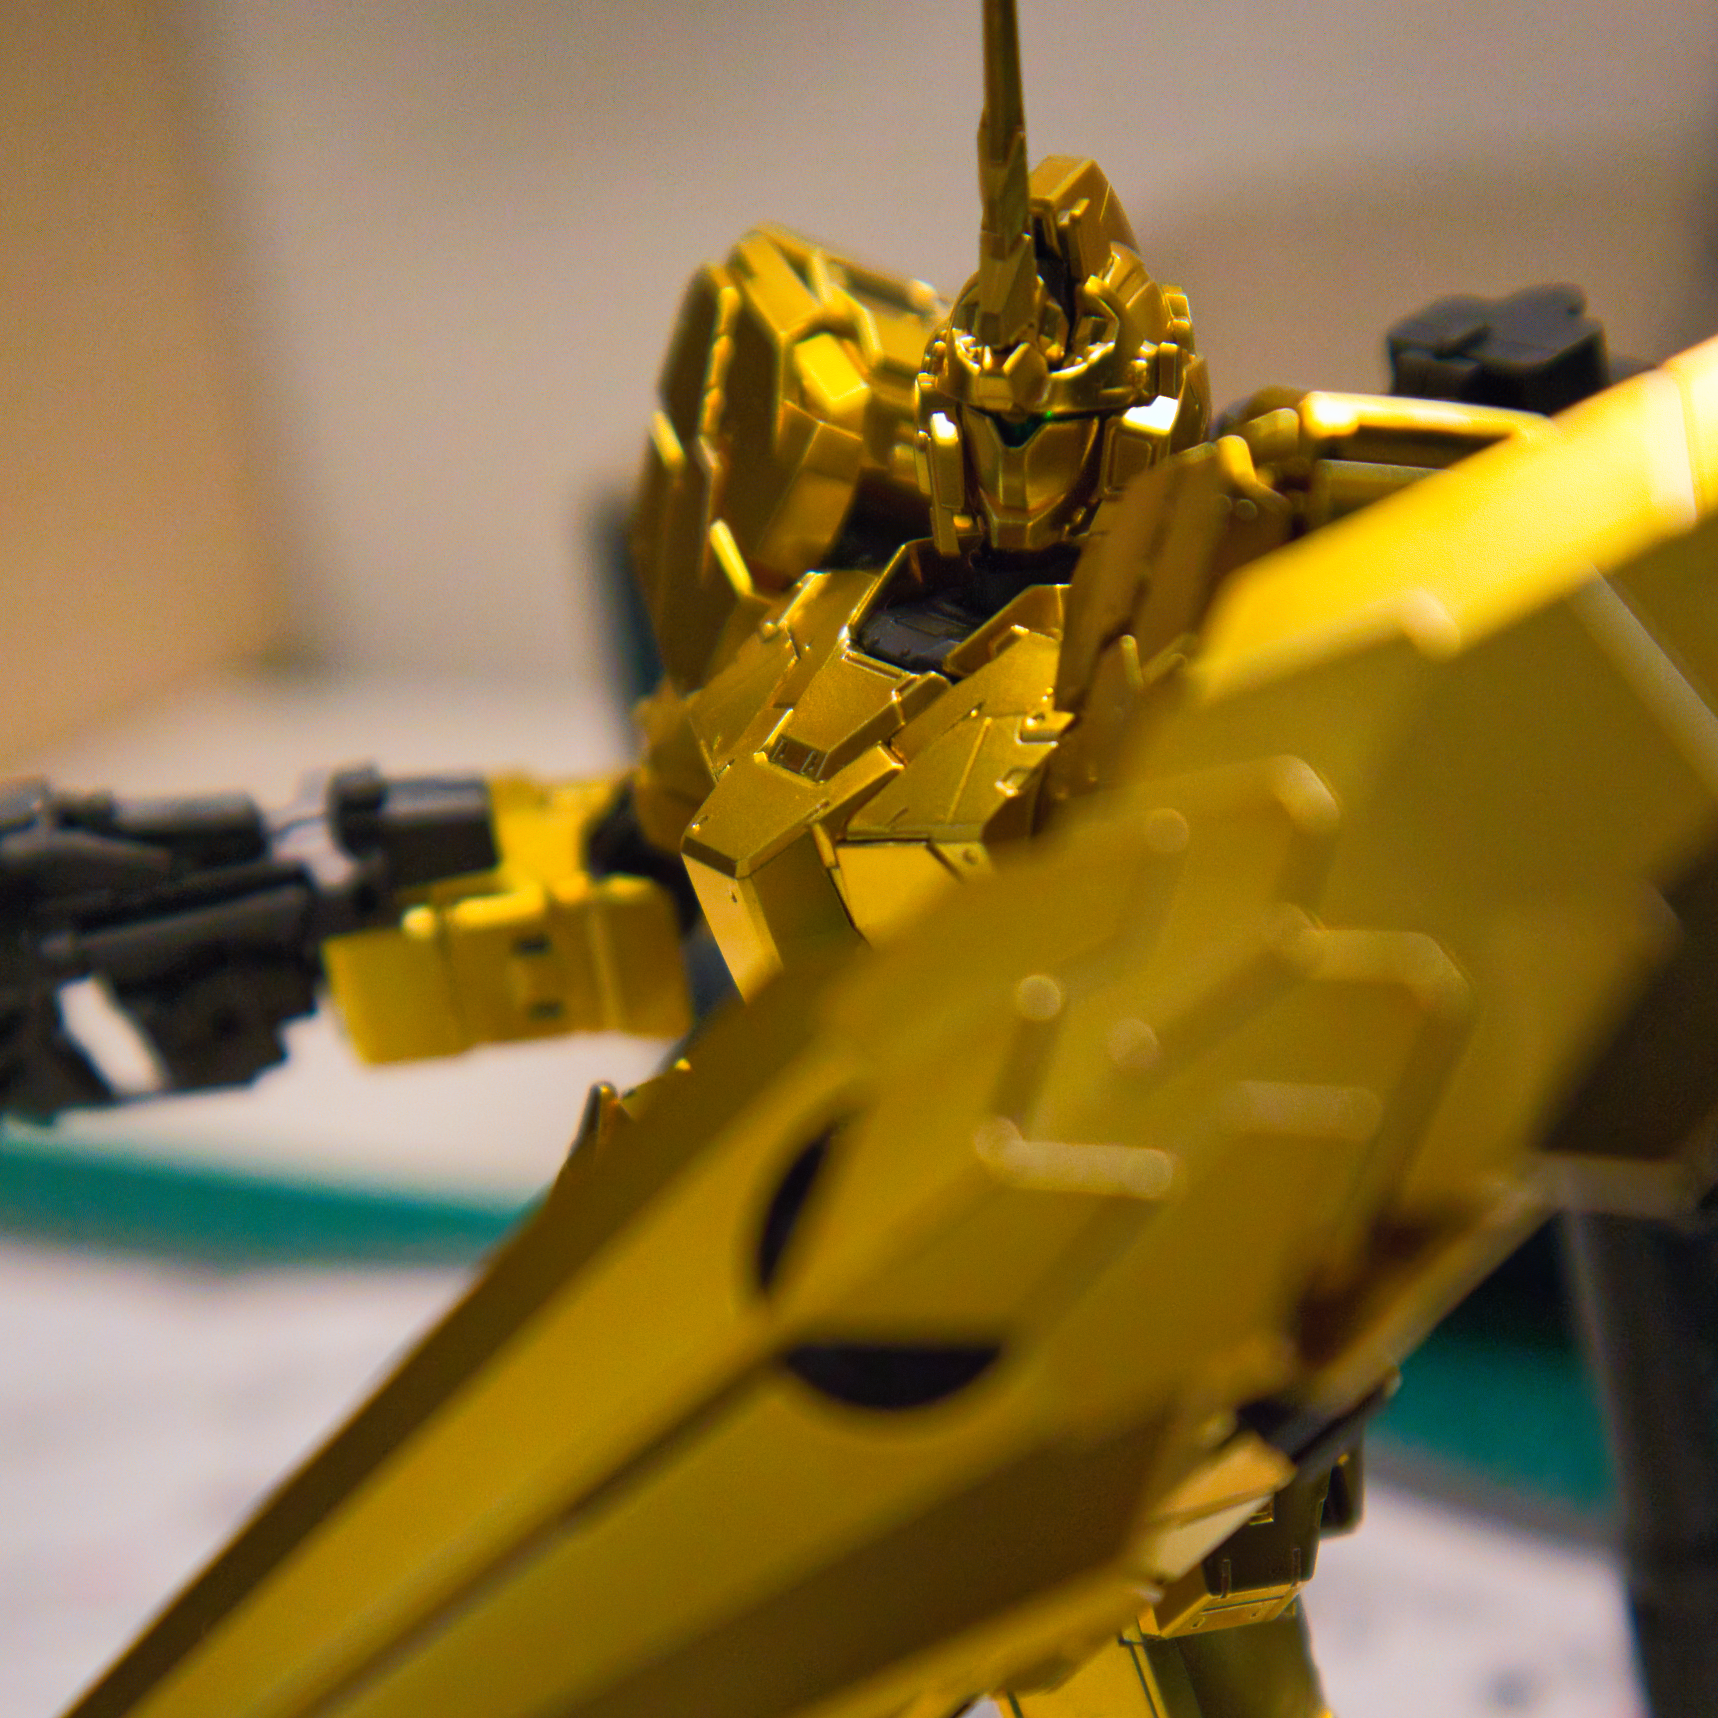
The shield itself also features a transformation mode to match the rest of the model, going from a compact shield to an extended shield with a star-pattern thing going on. It looks really cool when it’s extended like this and I think I’ll keep it that way no matter what.

After completing the weapons and shield, it was time to transform this guy into his Destroy Mode, which involves removing some pieces to manipulate them
In true gundam fashion, nearly the entirety of the model came apart during this process and I nearly rebuilt it a second time while trying to get everything into the proper transformation mode, but the process was worth it.
The model looks a lot better this way and I think this will probably be it’s display style on the shelf.
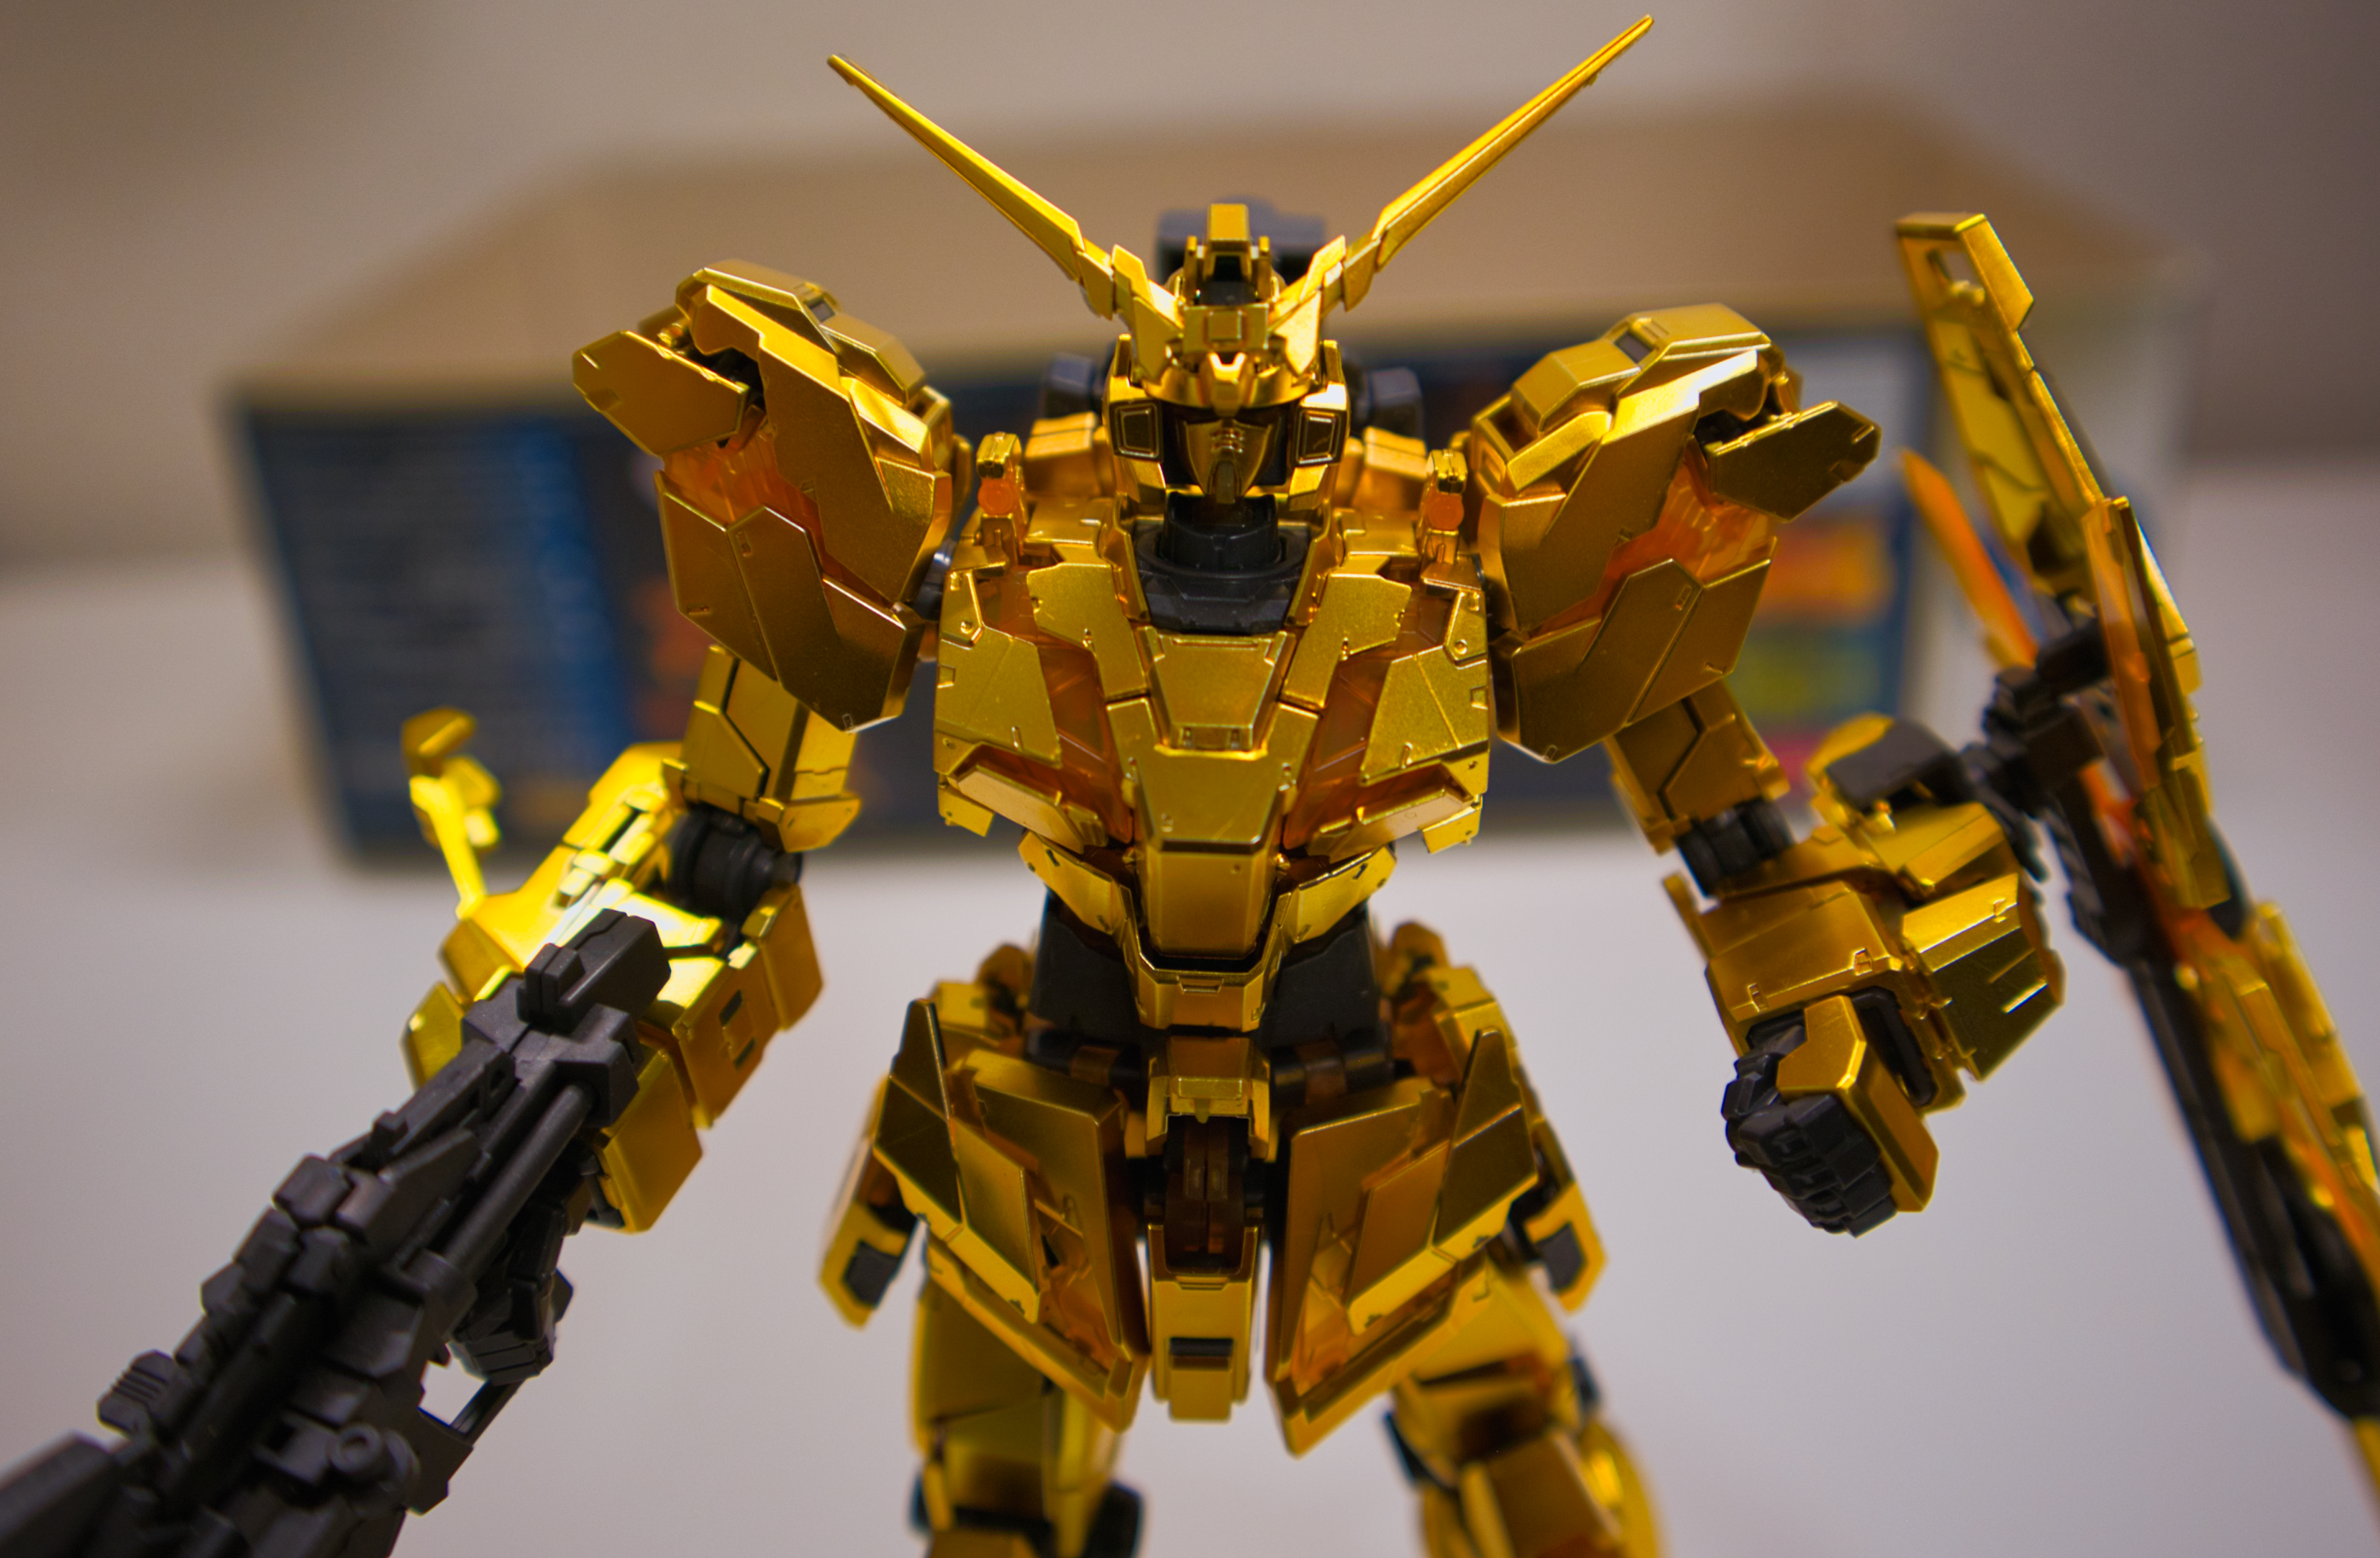
All that’s really left to do on this model are the decals, which I might stretch out over a couple of weeks as I start a new model build. While I love decals, I can only concentrate so much for so long before I start getting sloppy, so I’ve found it beneficial to always set a time limit and come back at a later date to ensure the best quality application.
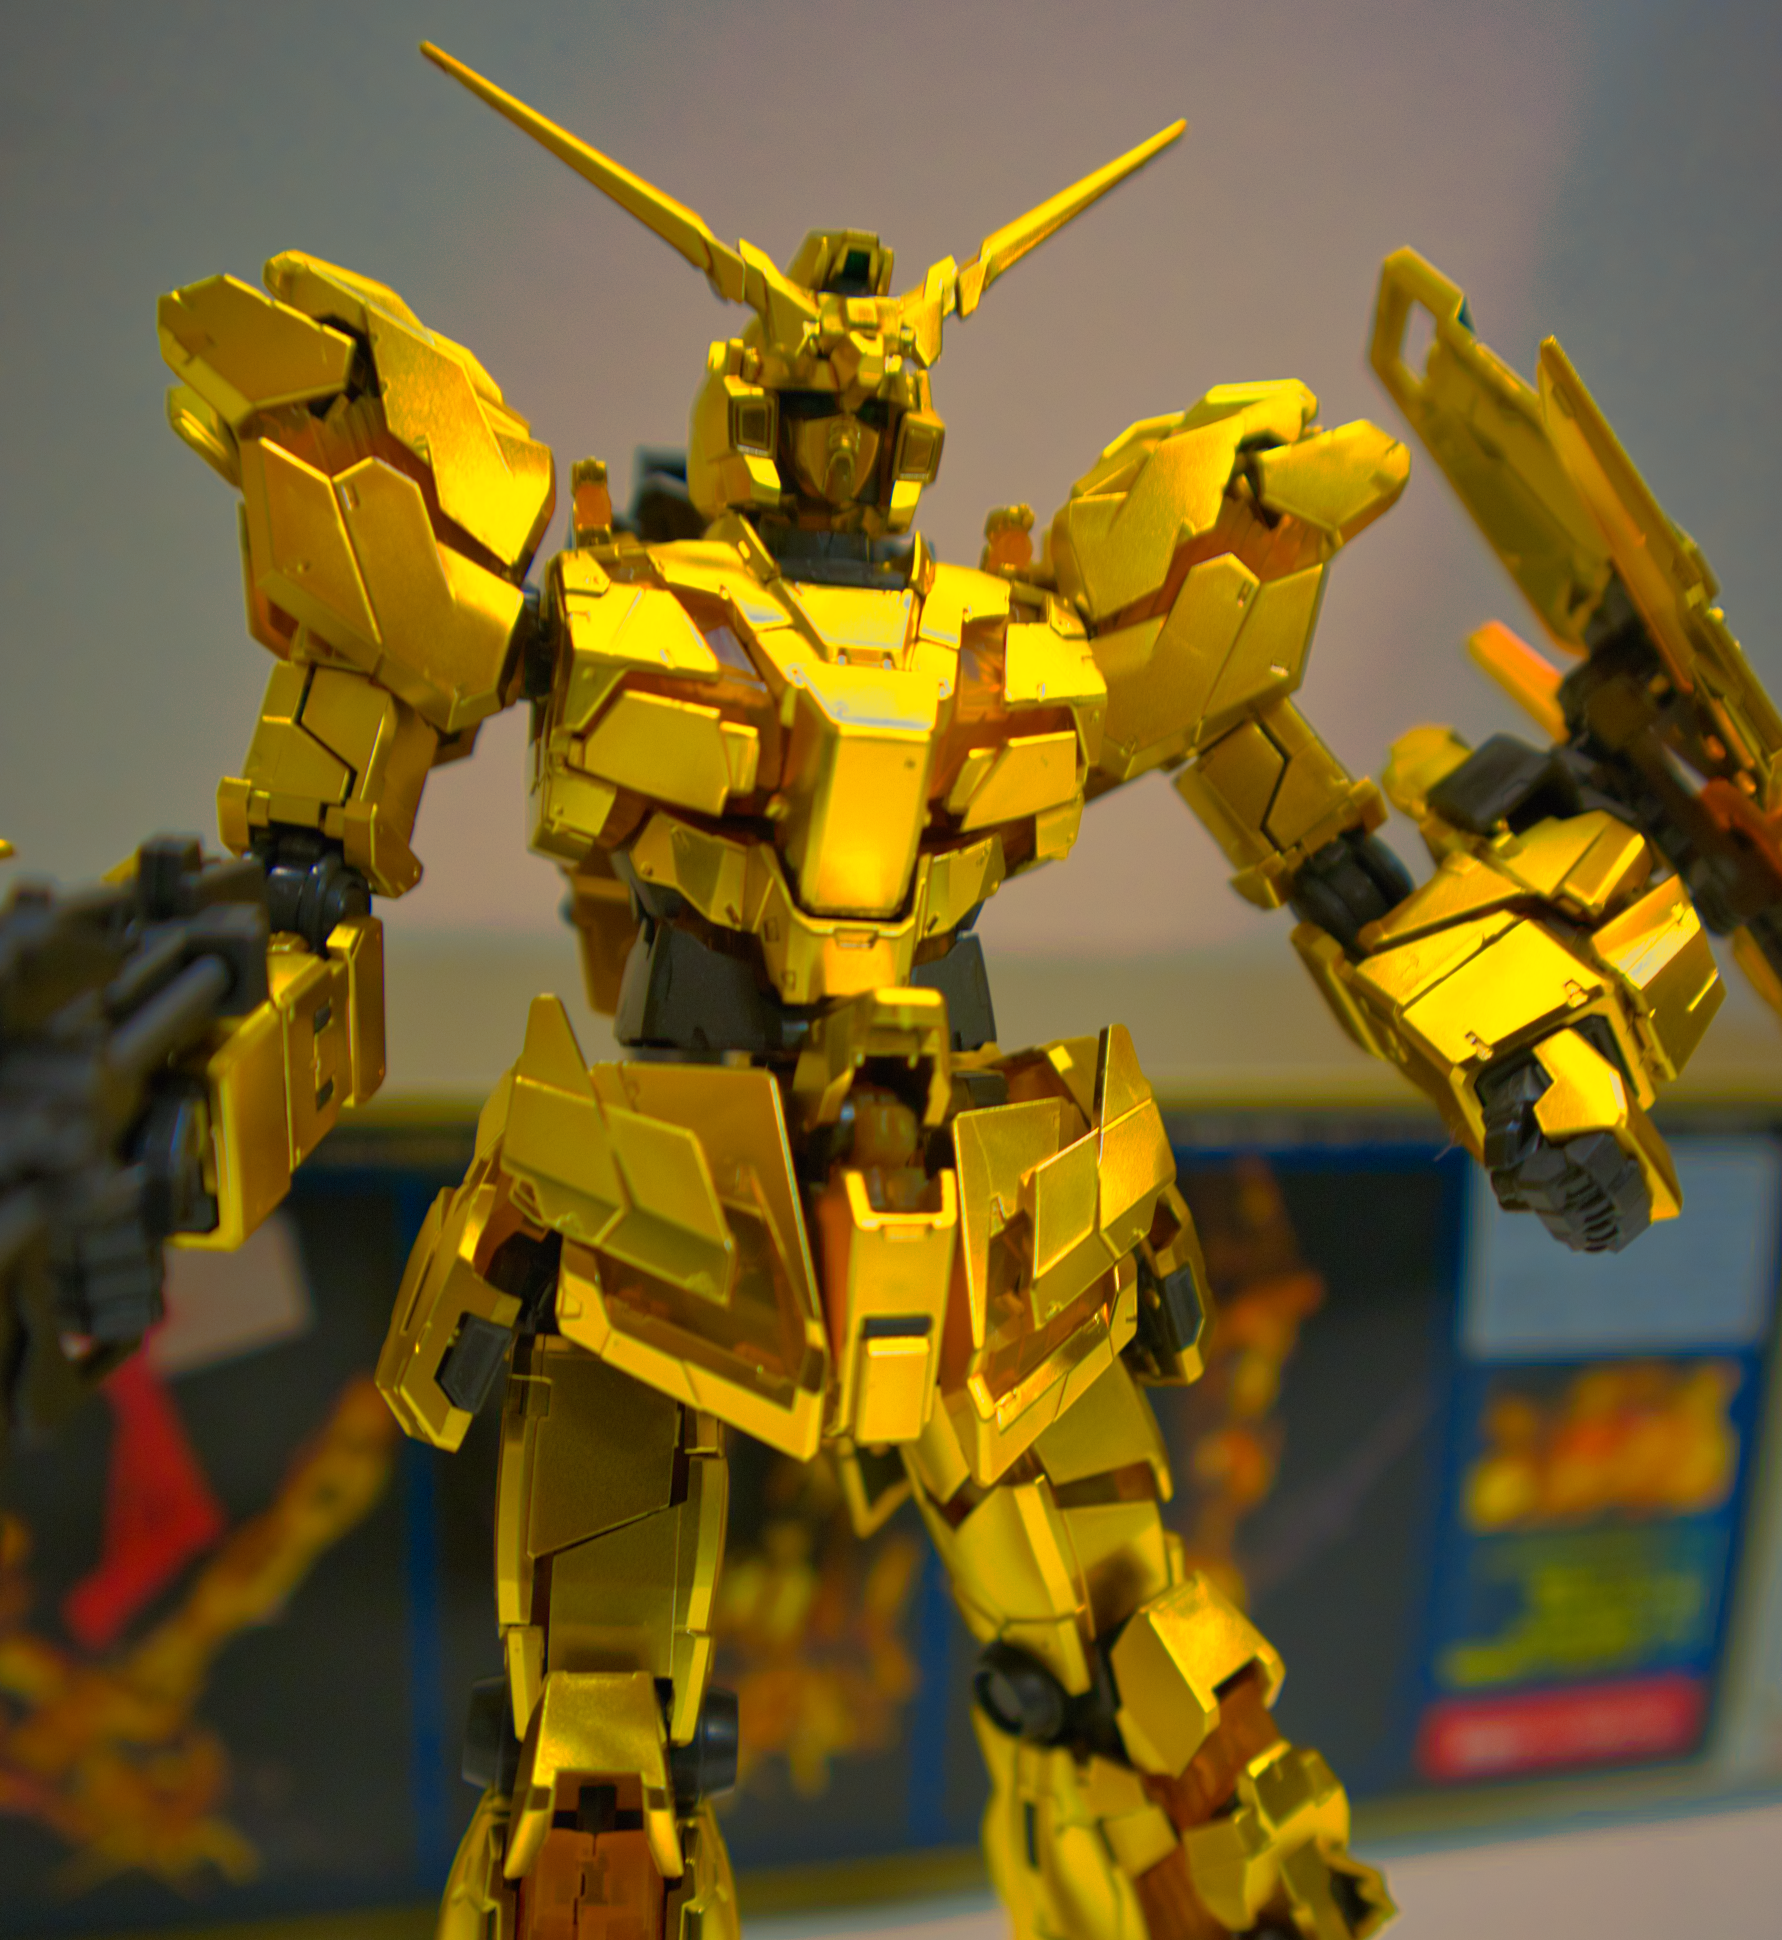
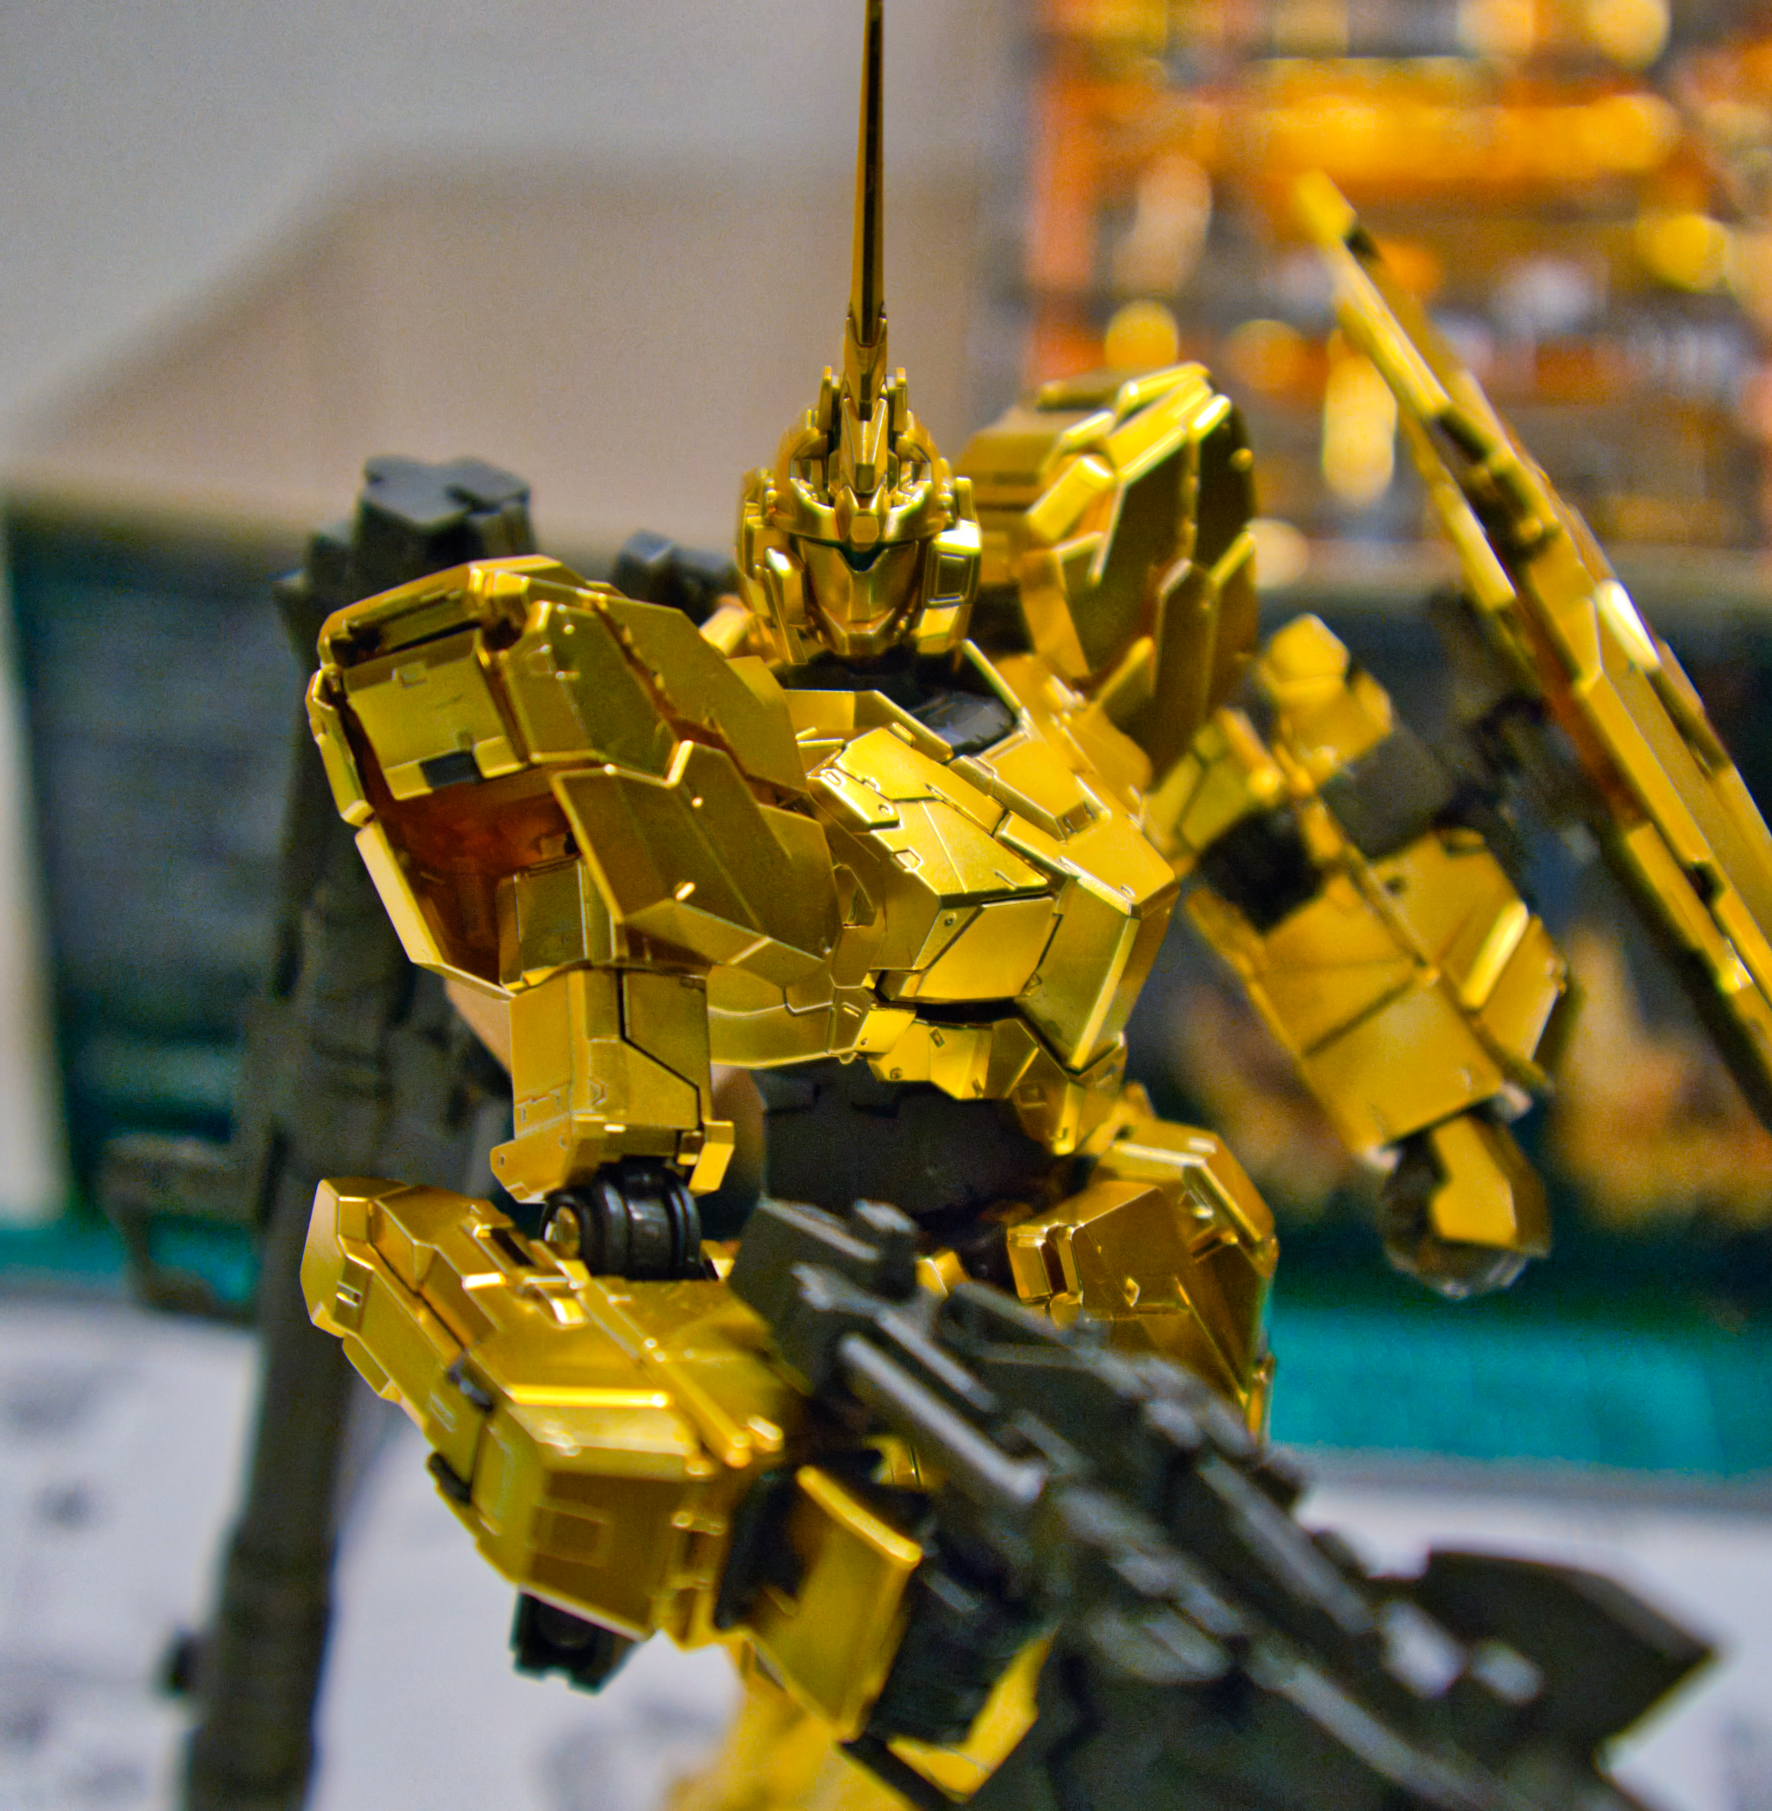
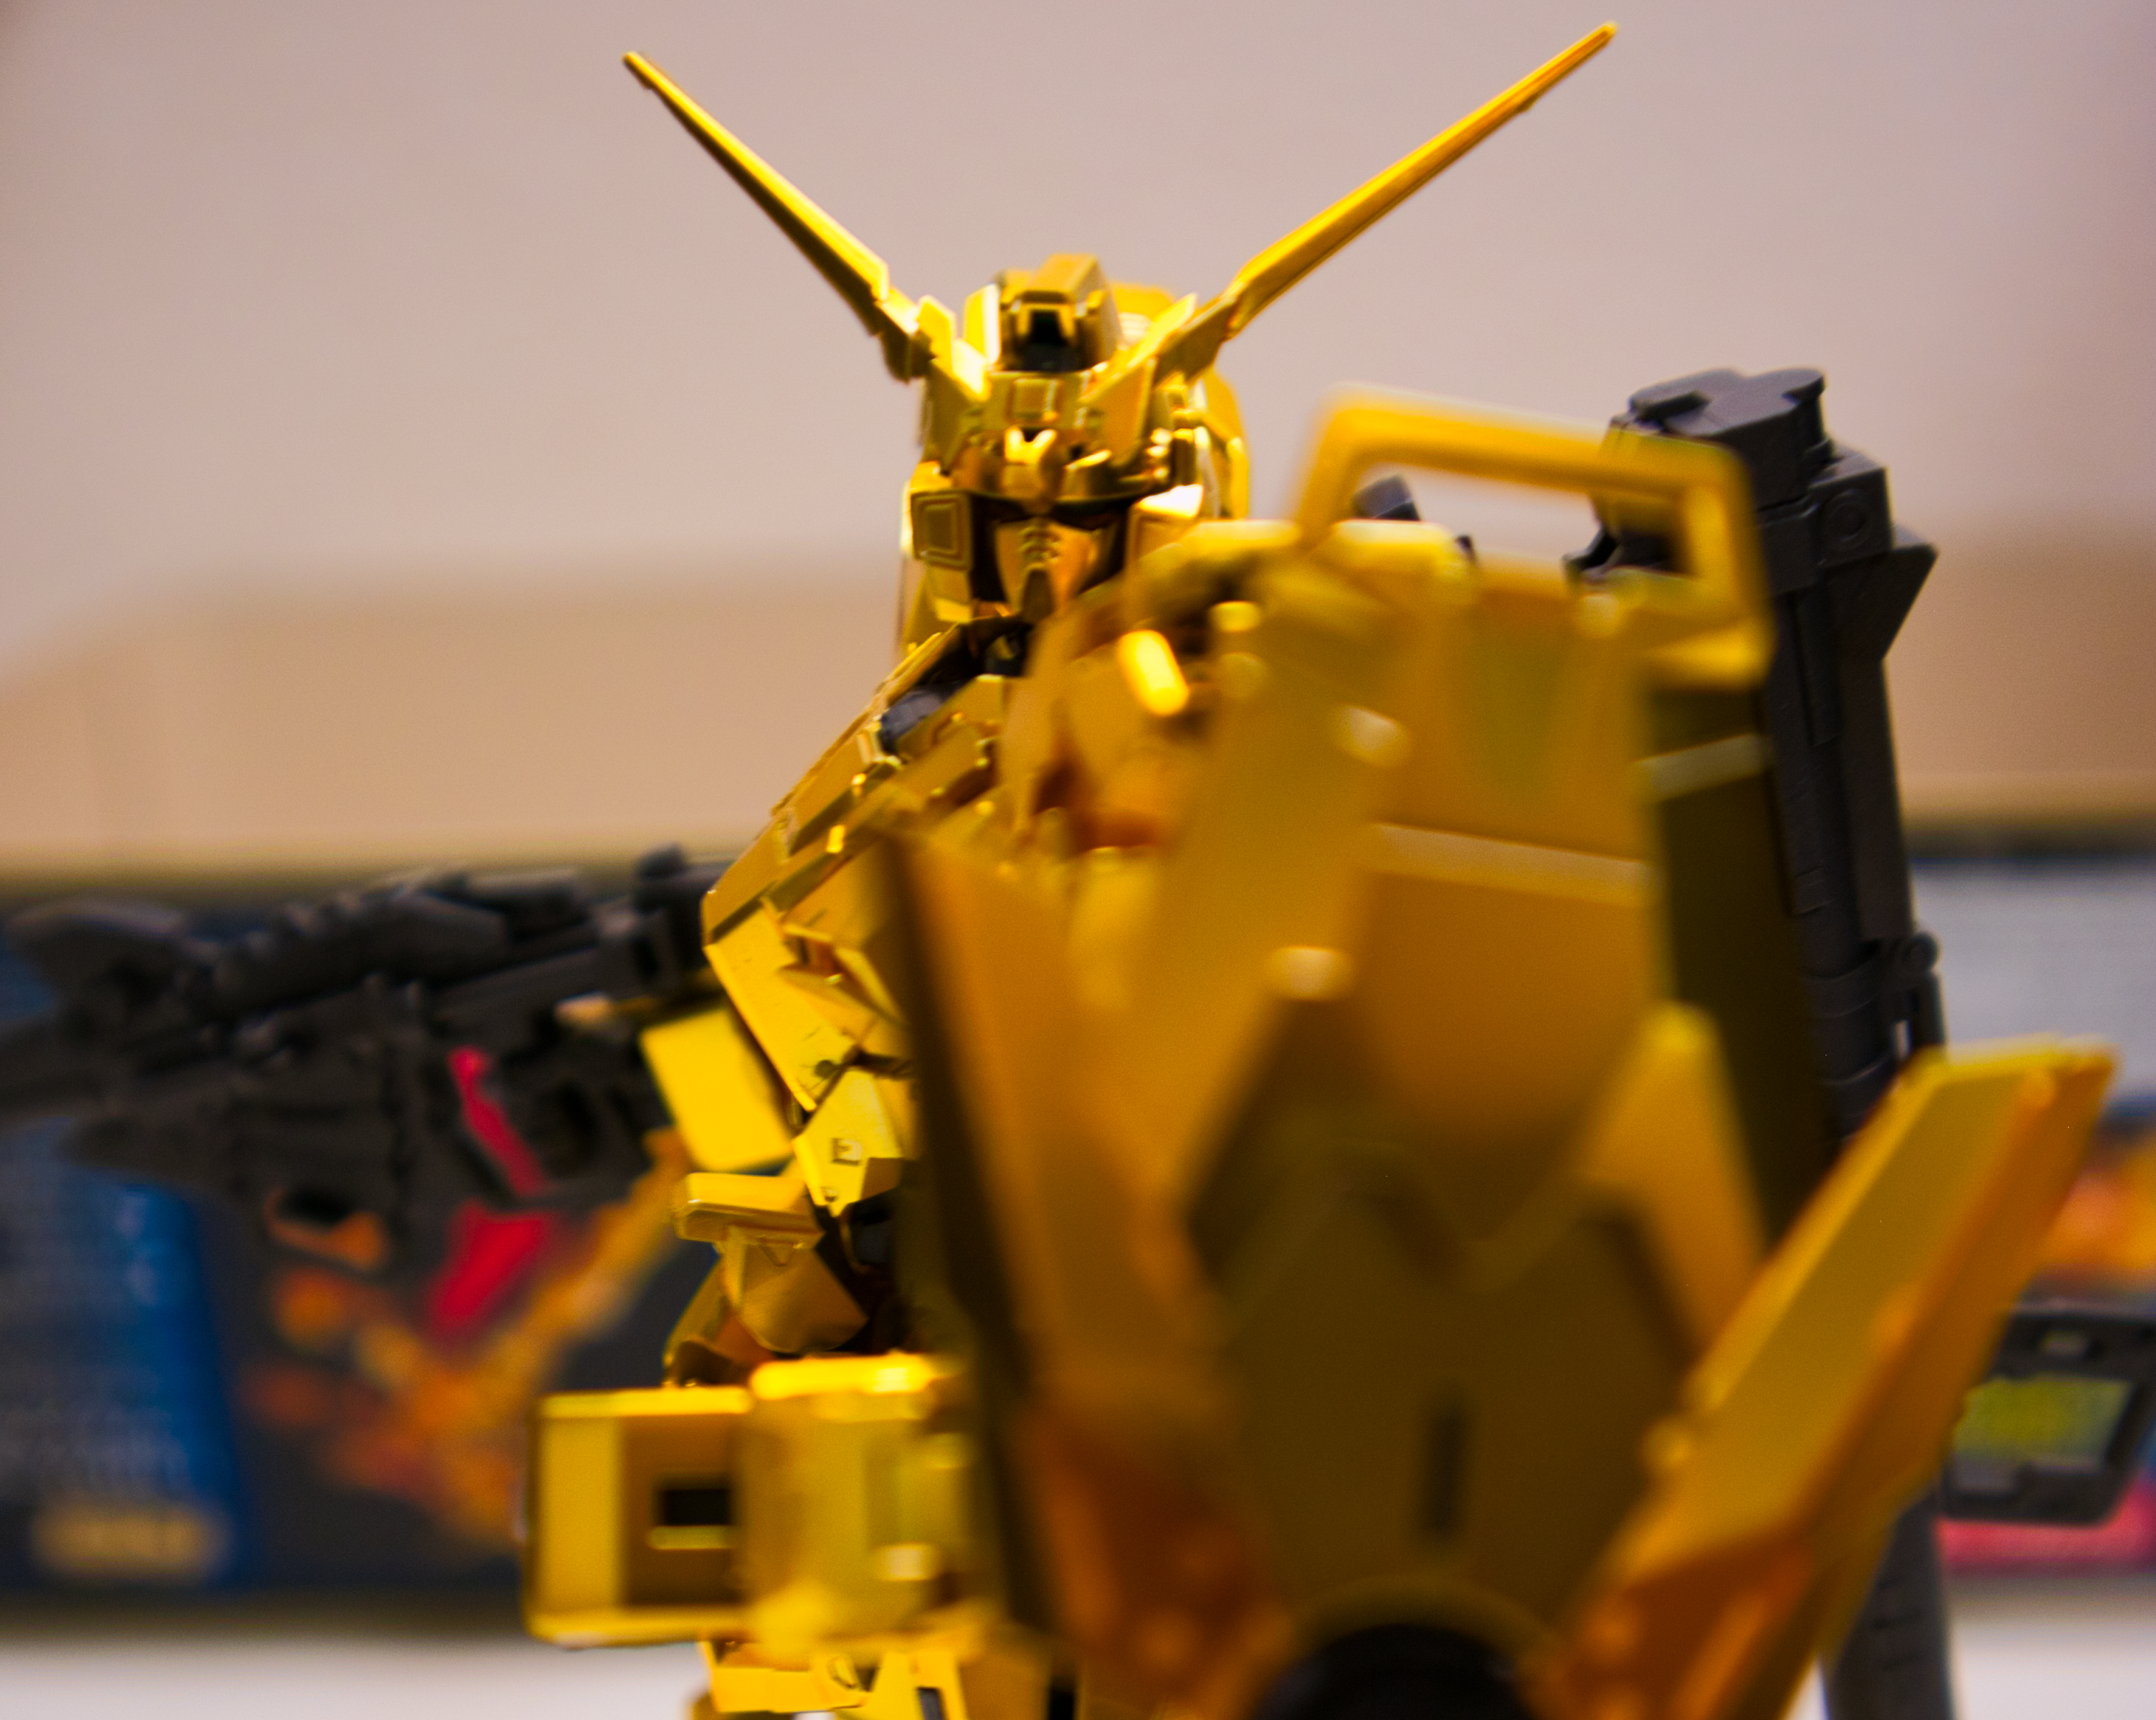
I’ll have pictures when that’s completed, but for now this is the effective end of the build. Absent a couple of hiccups here and there, I’ve really enjoyed putting this guy together. It’s definitely the best Real Grade I’ve assembled by far and Bandai really knocked the piece design out of the park with this one.
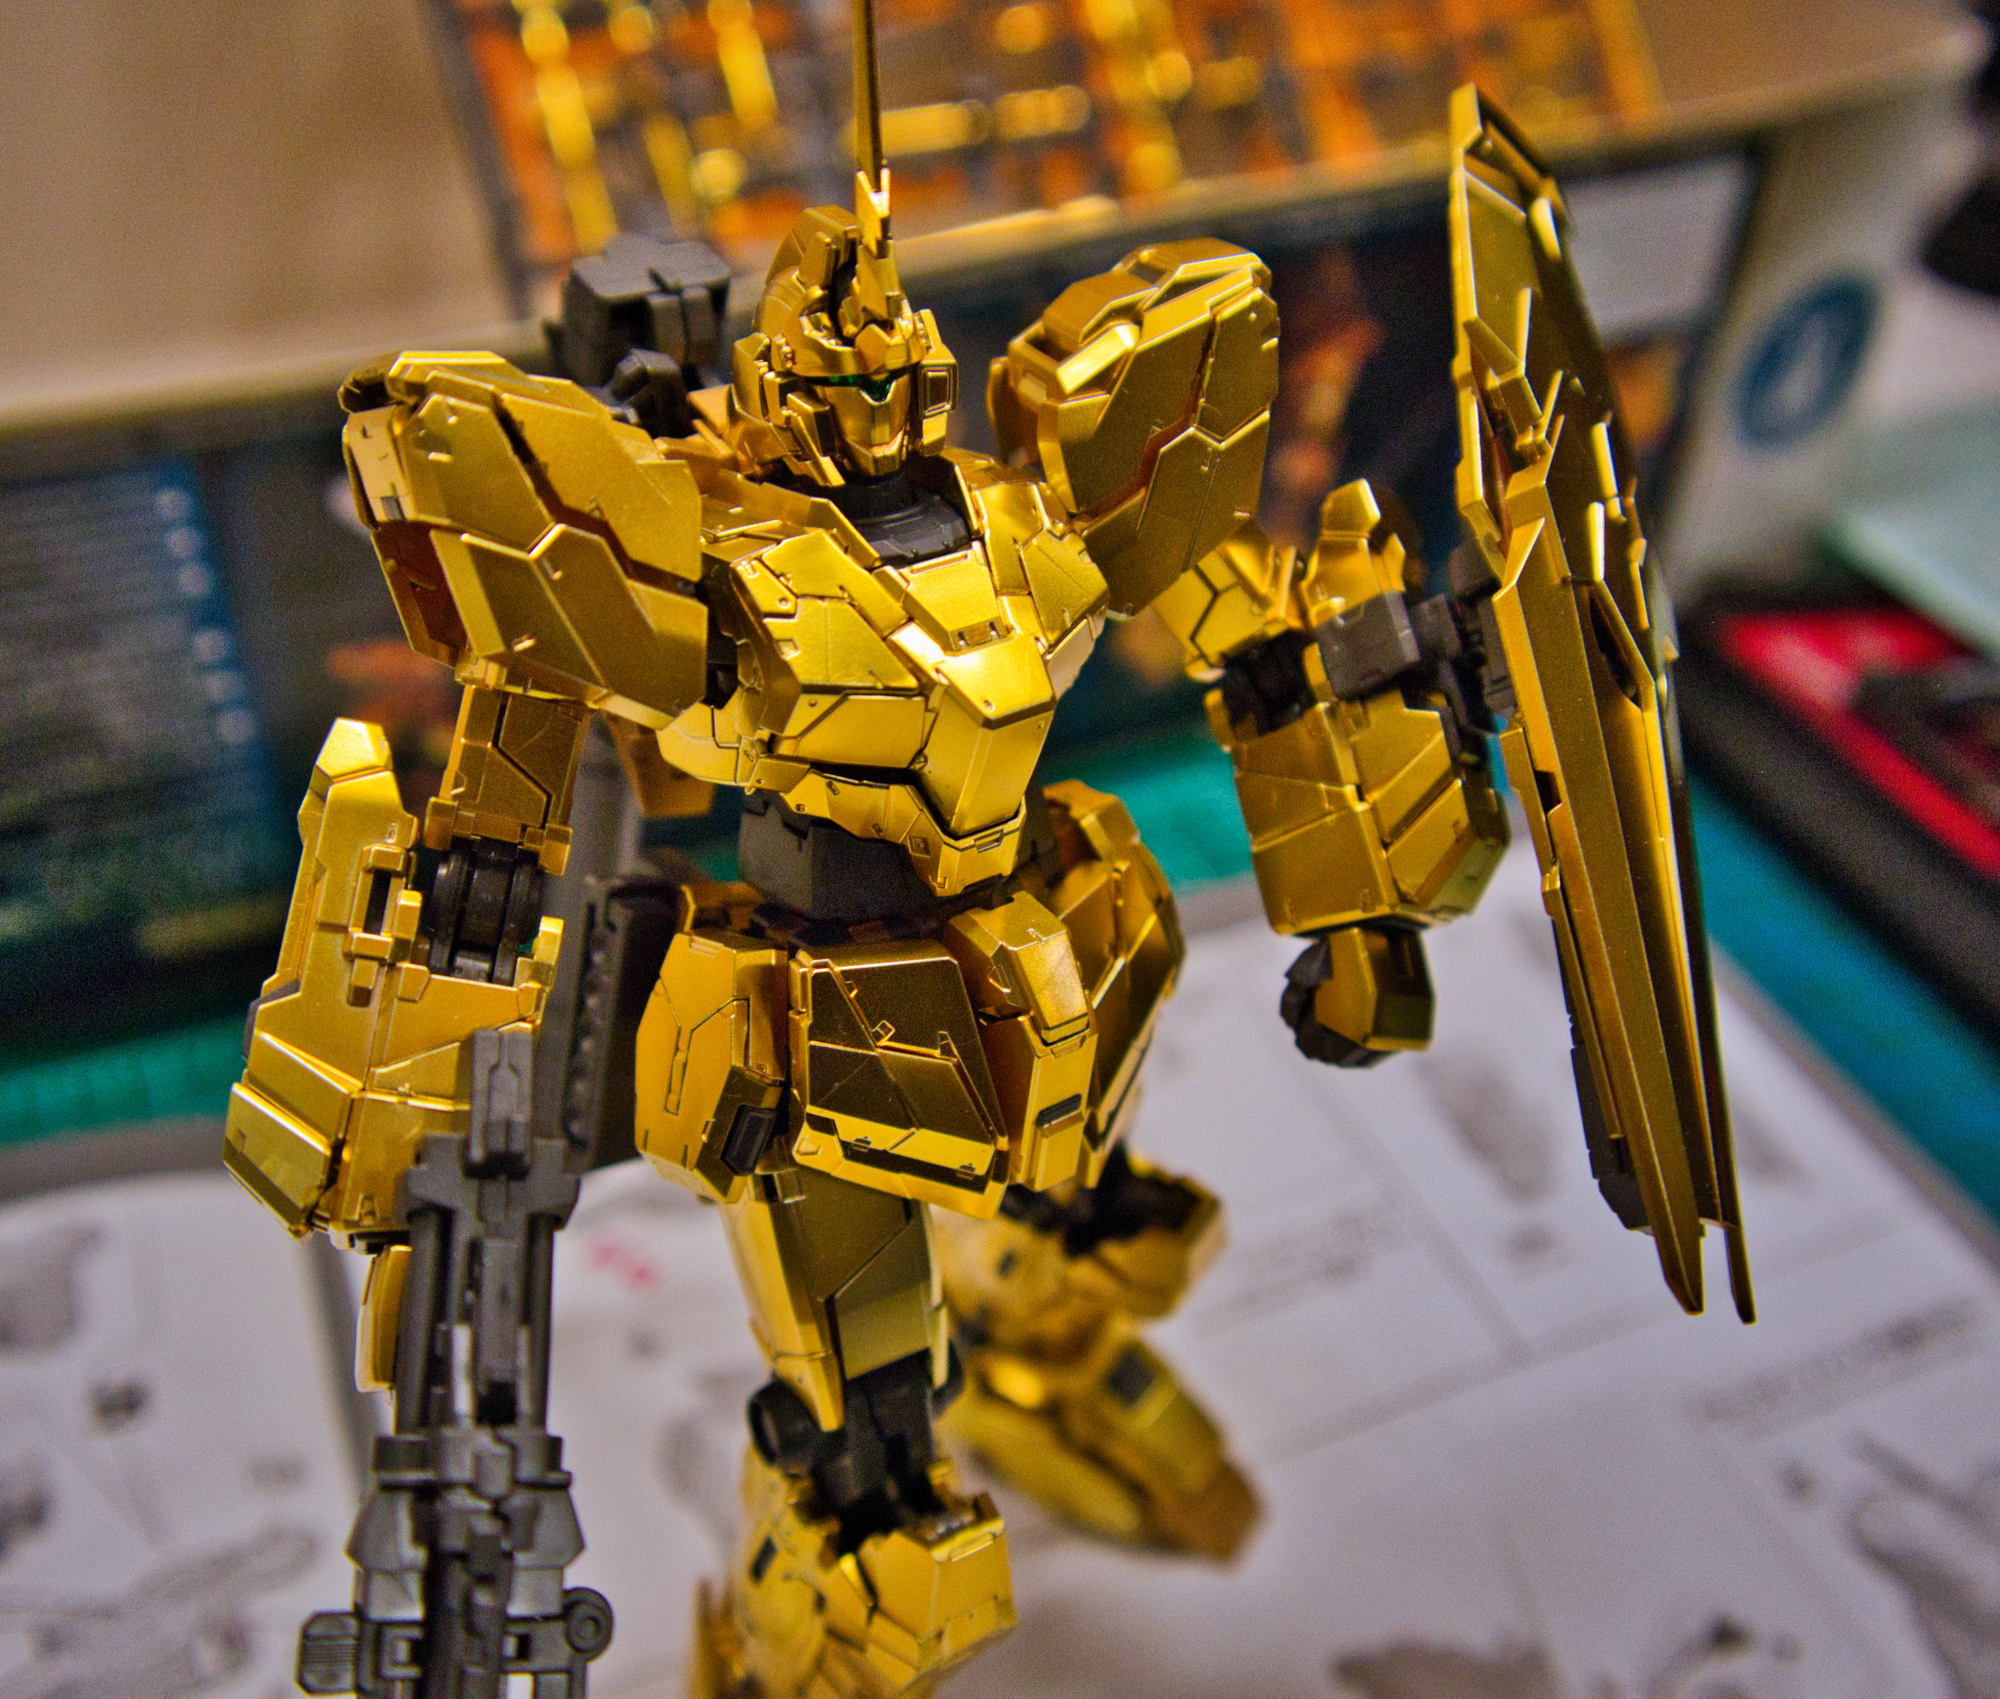
I’m not sure if you can find one of these anymore, and I’m not sure if it’s identical to the normal RG Unicorn Gundam, but if it is, I highly recommend this one to builders.
